The following step-by-step tutorial will guide you to build simple web application using Spring 4 MVC
Note
- This tutorial assumes you know how to install and setup Java and tomcat
- servlet 3.0 requires Java 1.6 or newer and tomcat 7
- You can download complete project source from here
Requirements
- Eclipse Luna
- Java 1.7
- Apache Tomcat 7
- Spring 4 (you can download libraries needed from here)
- Eclipse Tomcat Plugin (Not required, but easy to debug the java code. You can download it from here)
Minimum jars required
- commons-logging-1.2.jar
- javax.servlet-api-3.1.0.jar
- jstl-1.2.jar
- spring-aop-4.0.0.RELEASE.jar
- spring-beans-4.0.0.RELEASE.jar
- spring-context-4.0.0.RELEASE.jar
- spring-core-4.0.0.RELEASE.jar
- spring-expression-4.0.0.RELEASE.jar
- spring-web-4.0.0.RELEASE.jar
- spring-webmvc-4.0.0.RELEASE.jar
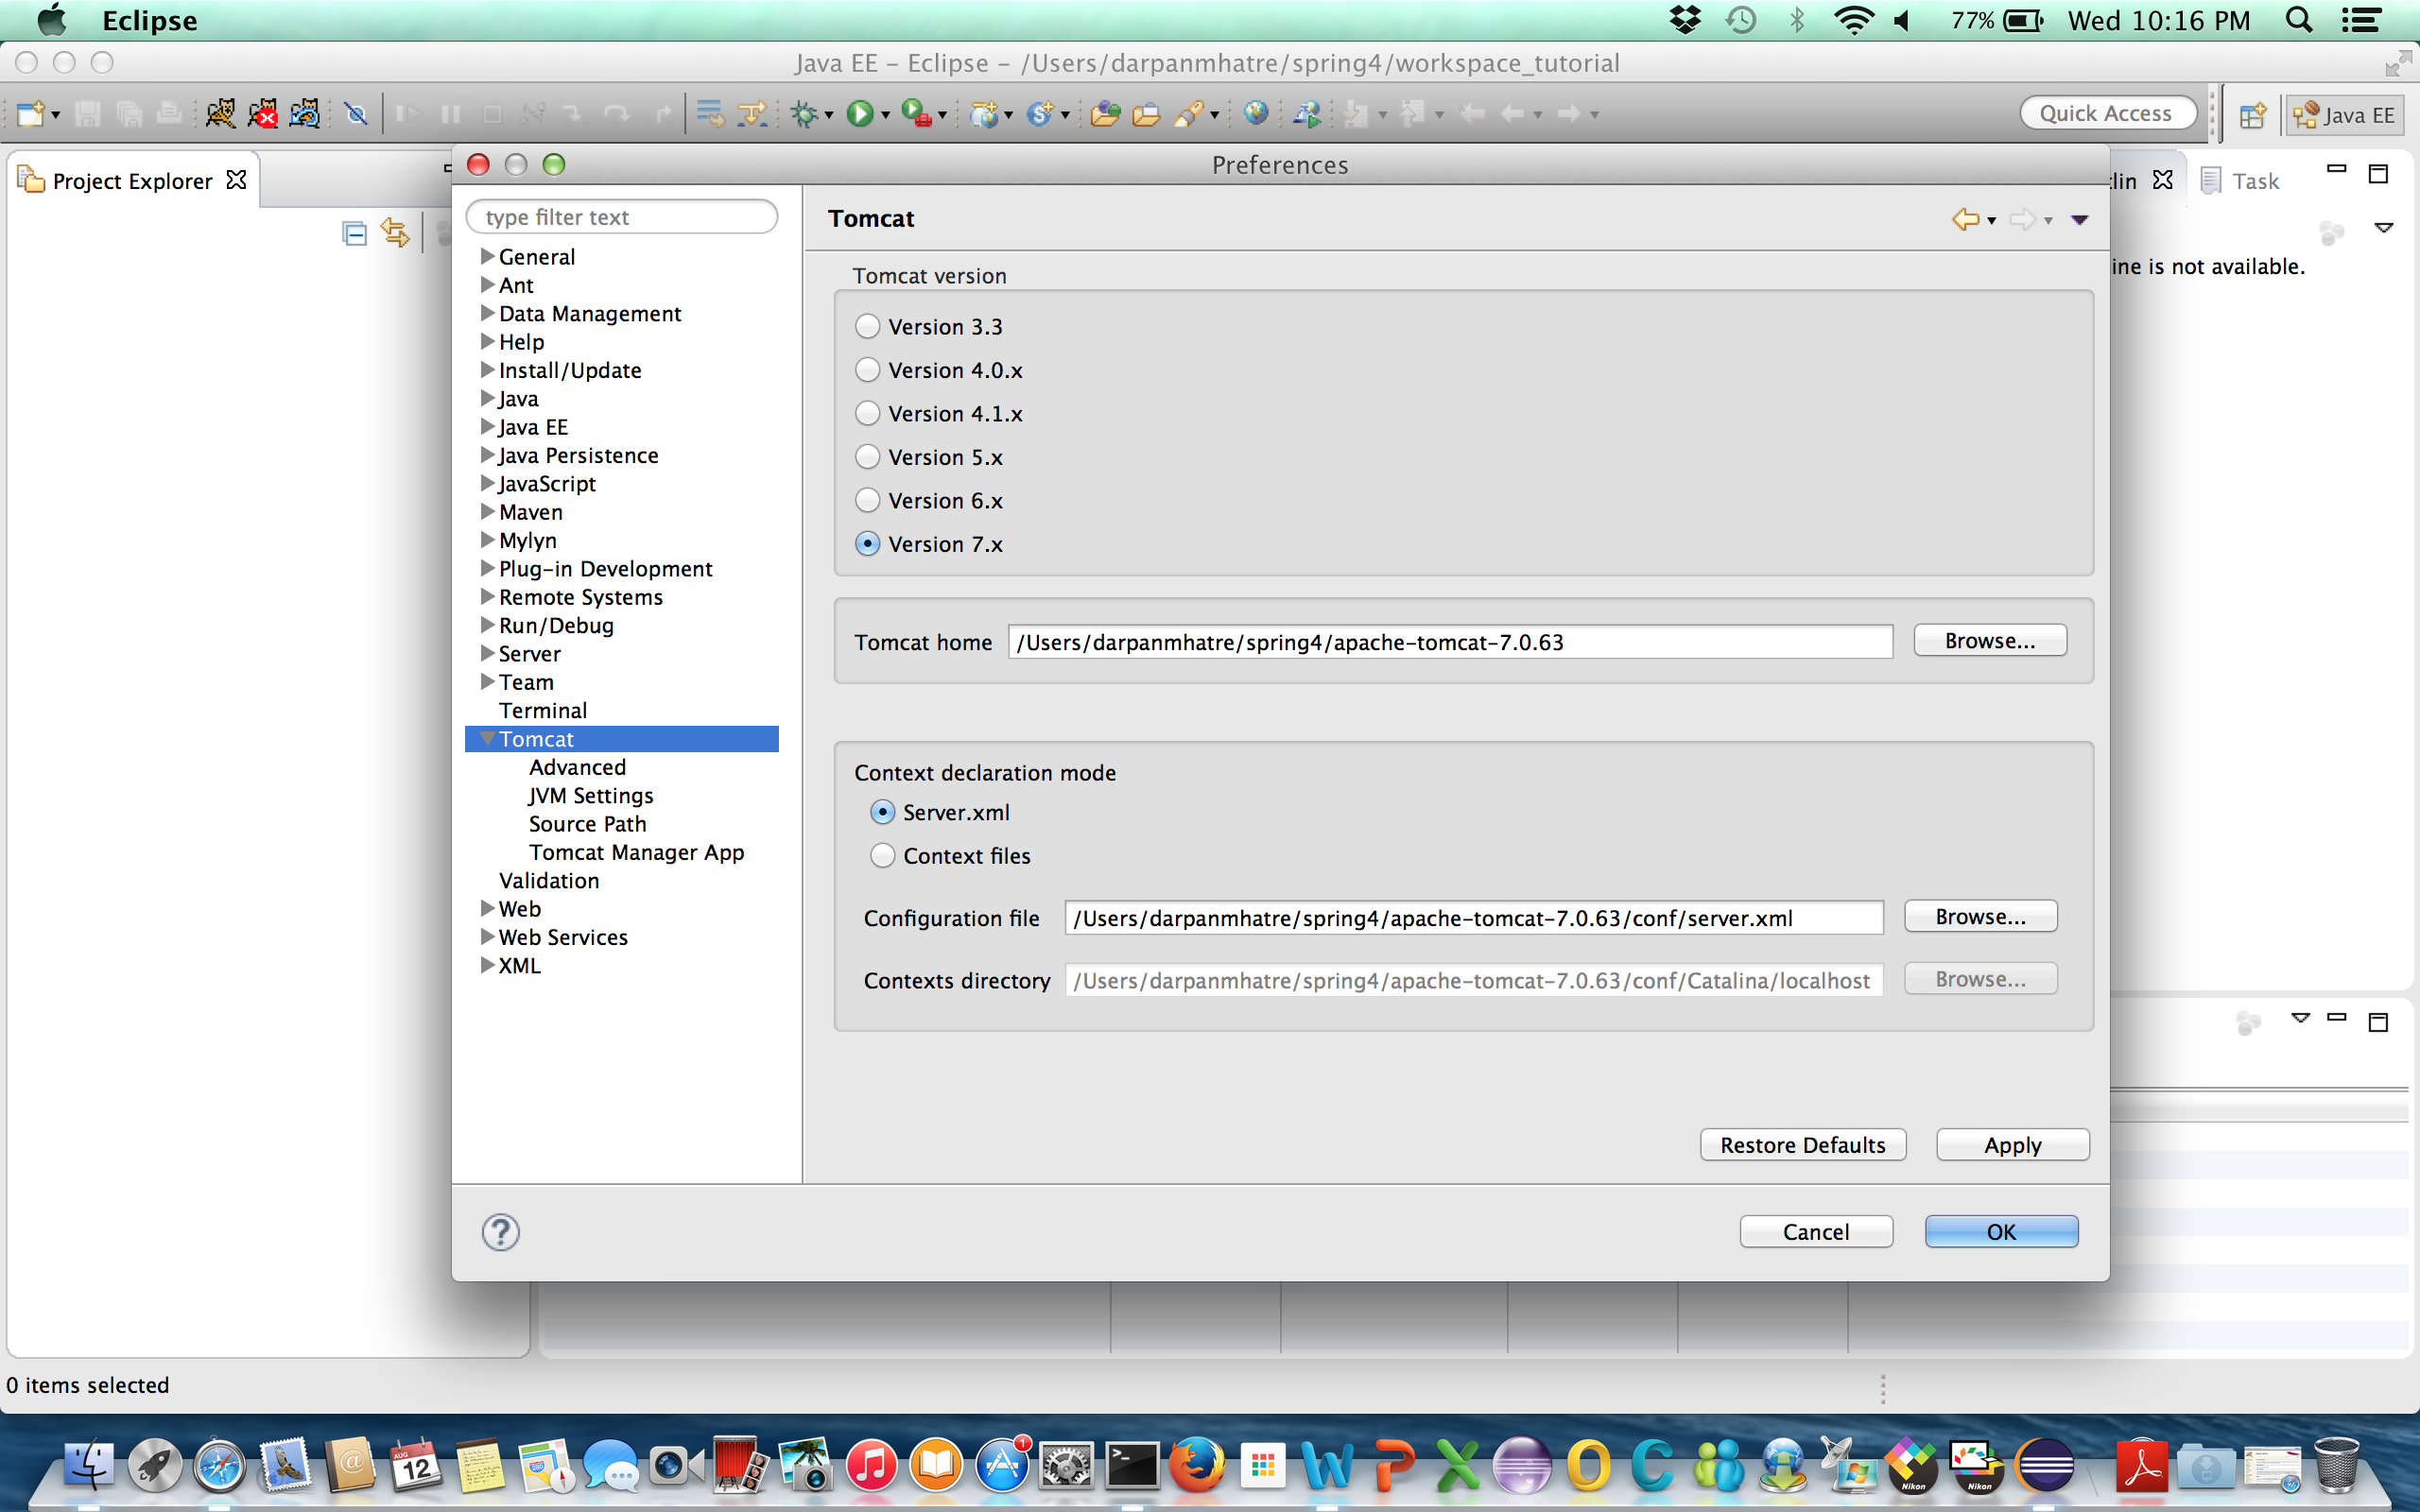
1] Set-up eclipse tomcat plugin
Download tomcatPluginV331.zip, unzip it in eclipse_home/dropins folder for eclipse luna and restart eclipse. Three tomcat icons will appear in the tool bar of eclipse (start, stop and restart).
- Go to Eclipse->Preferences->Tomcat and select tomcat version which is version 7.x
- browse and select tomcat home directory (i.e.. where the tomcat is install)
- Select server.xml for Context declaration mode
- click apply
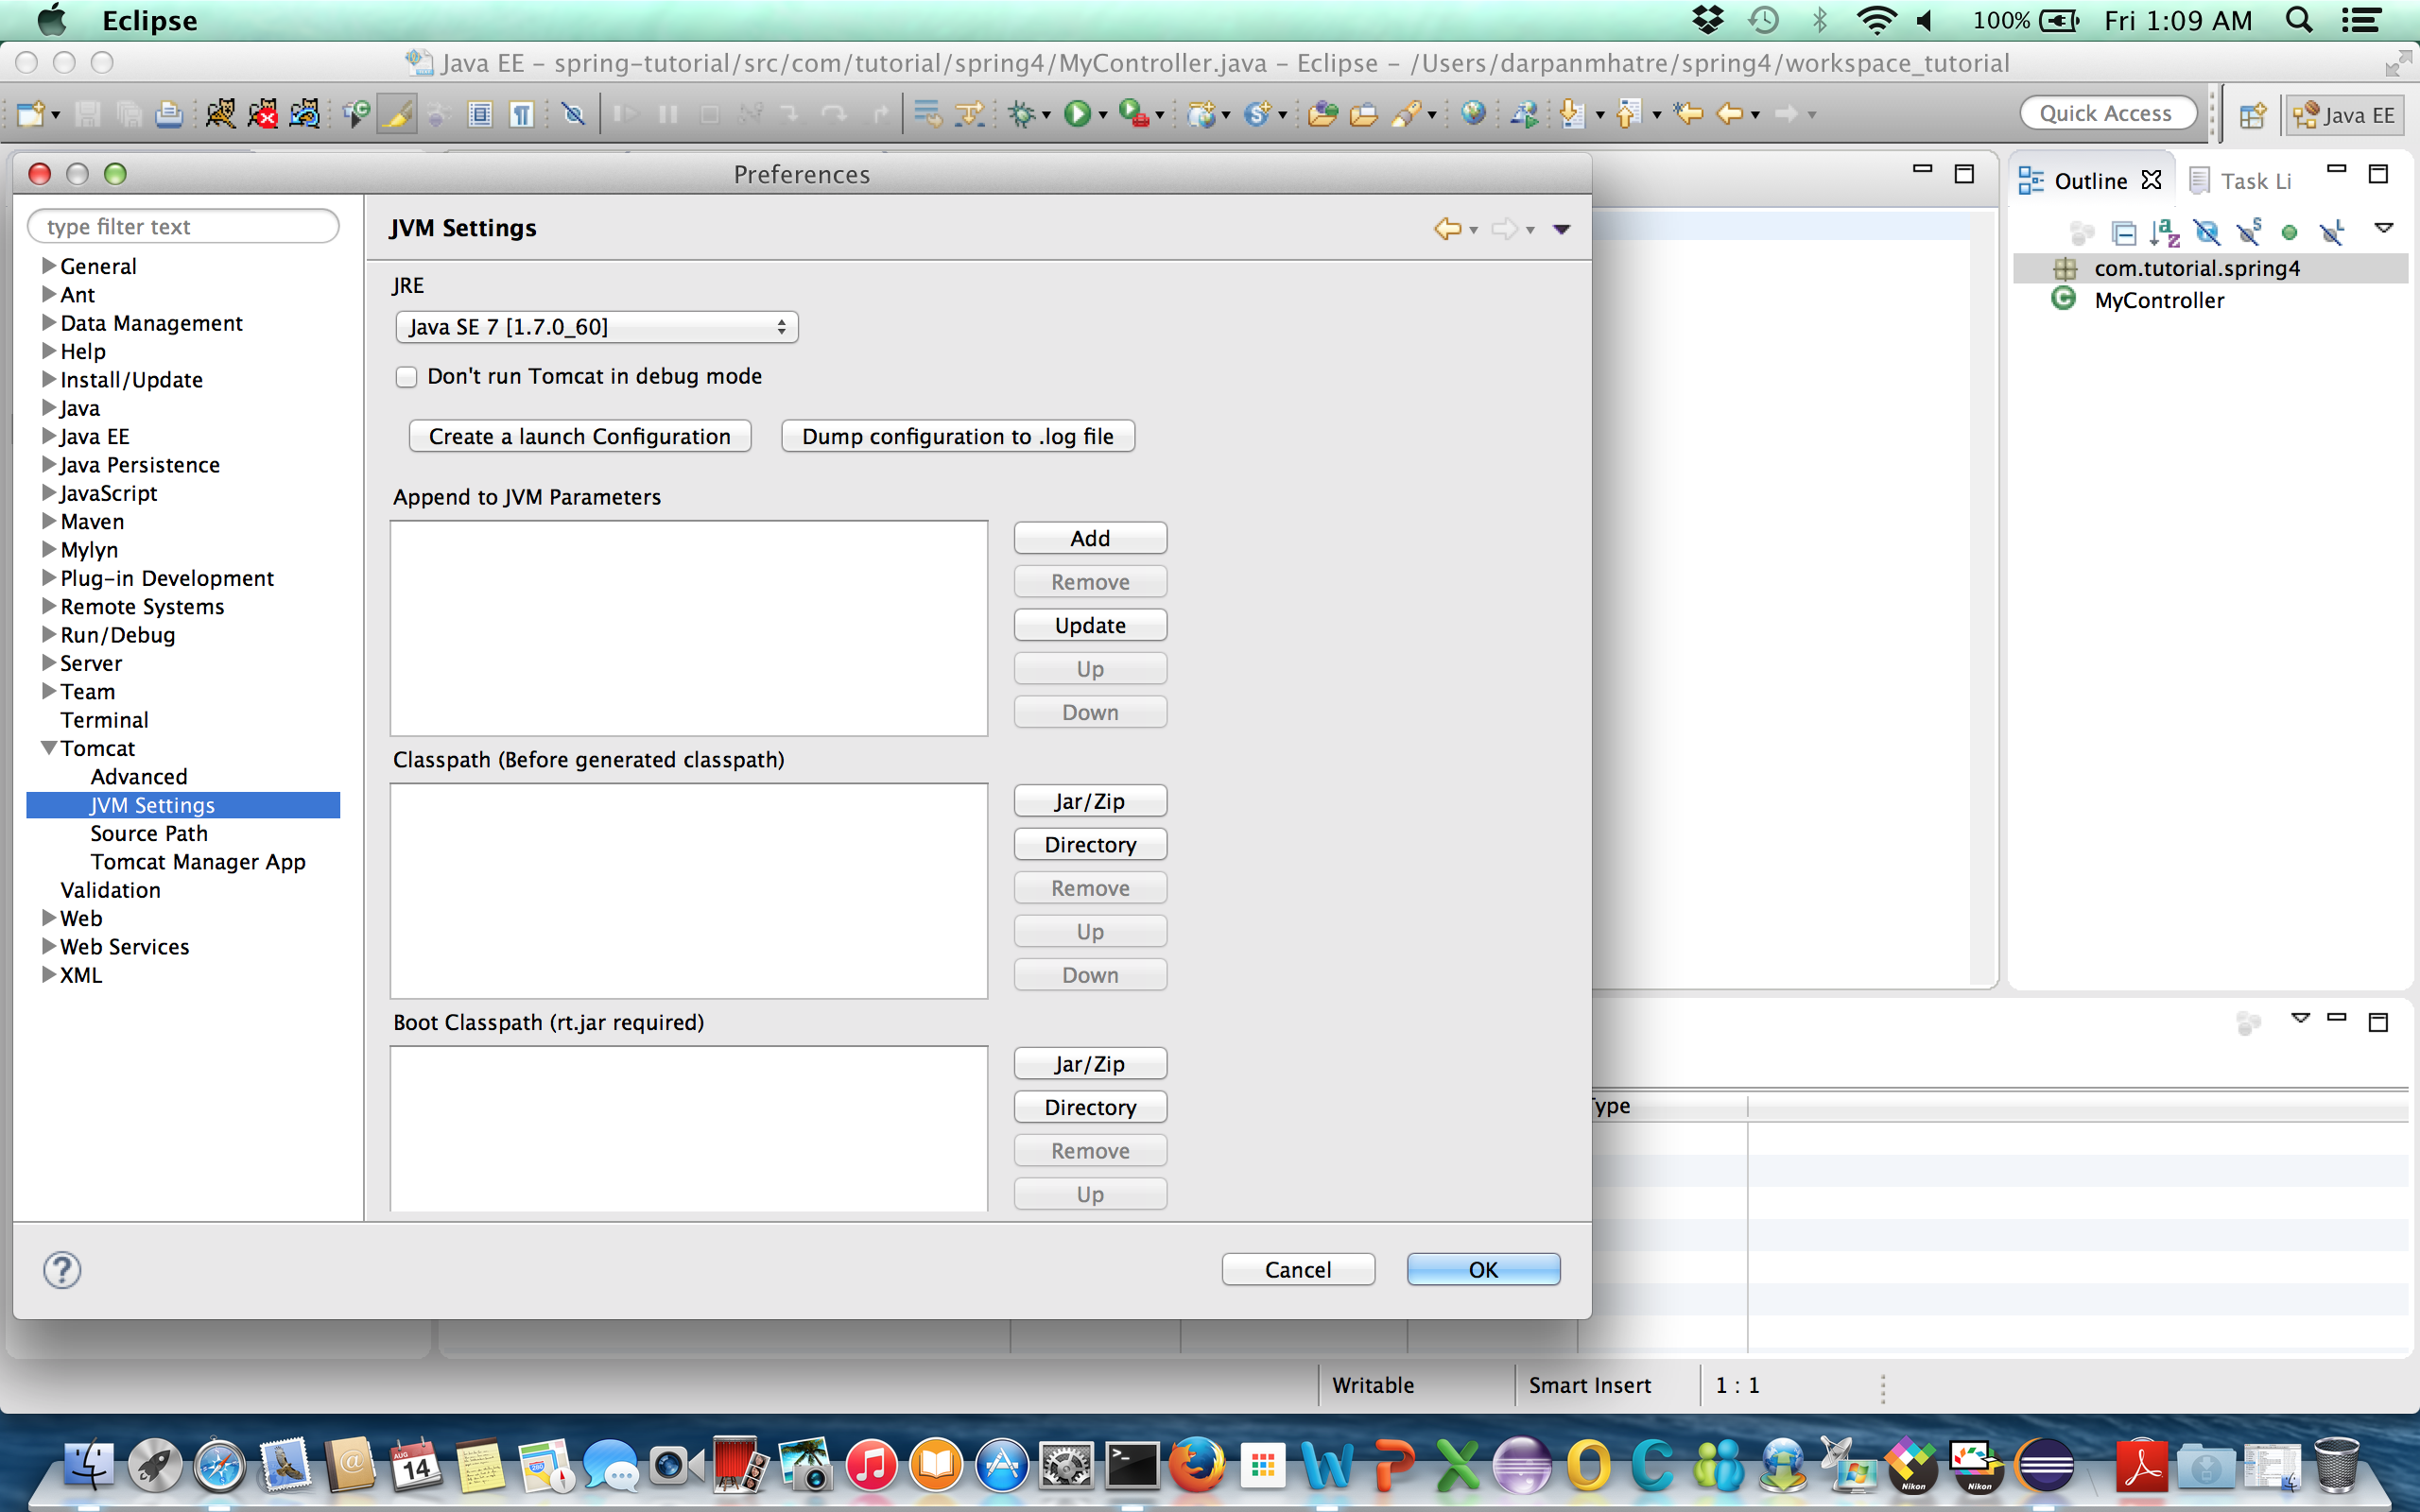
- Go to Eclipse->Preferences->Tomcat->JVM Settings and make sure Java 1.7 is selected for JRE
2] Create project
- Go to File->New->Dynamic Web Project
- browse and select tomcat home directory (i.e.. where the tomcat is install)
- Choose name for your project
- Make sure you select 3.0 for Dynamic Web Module version and click finish
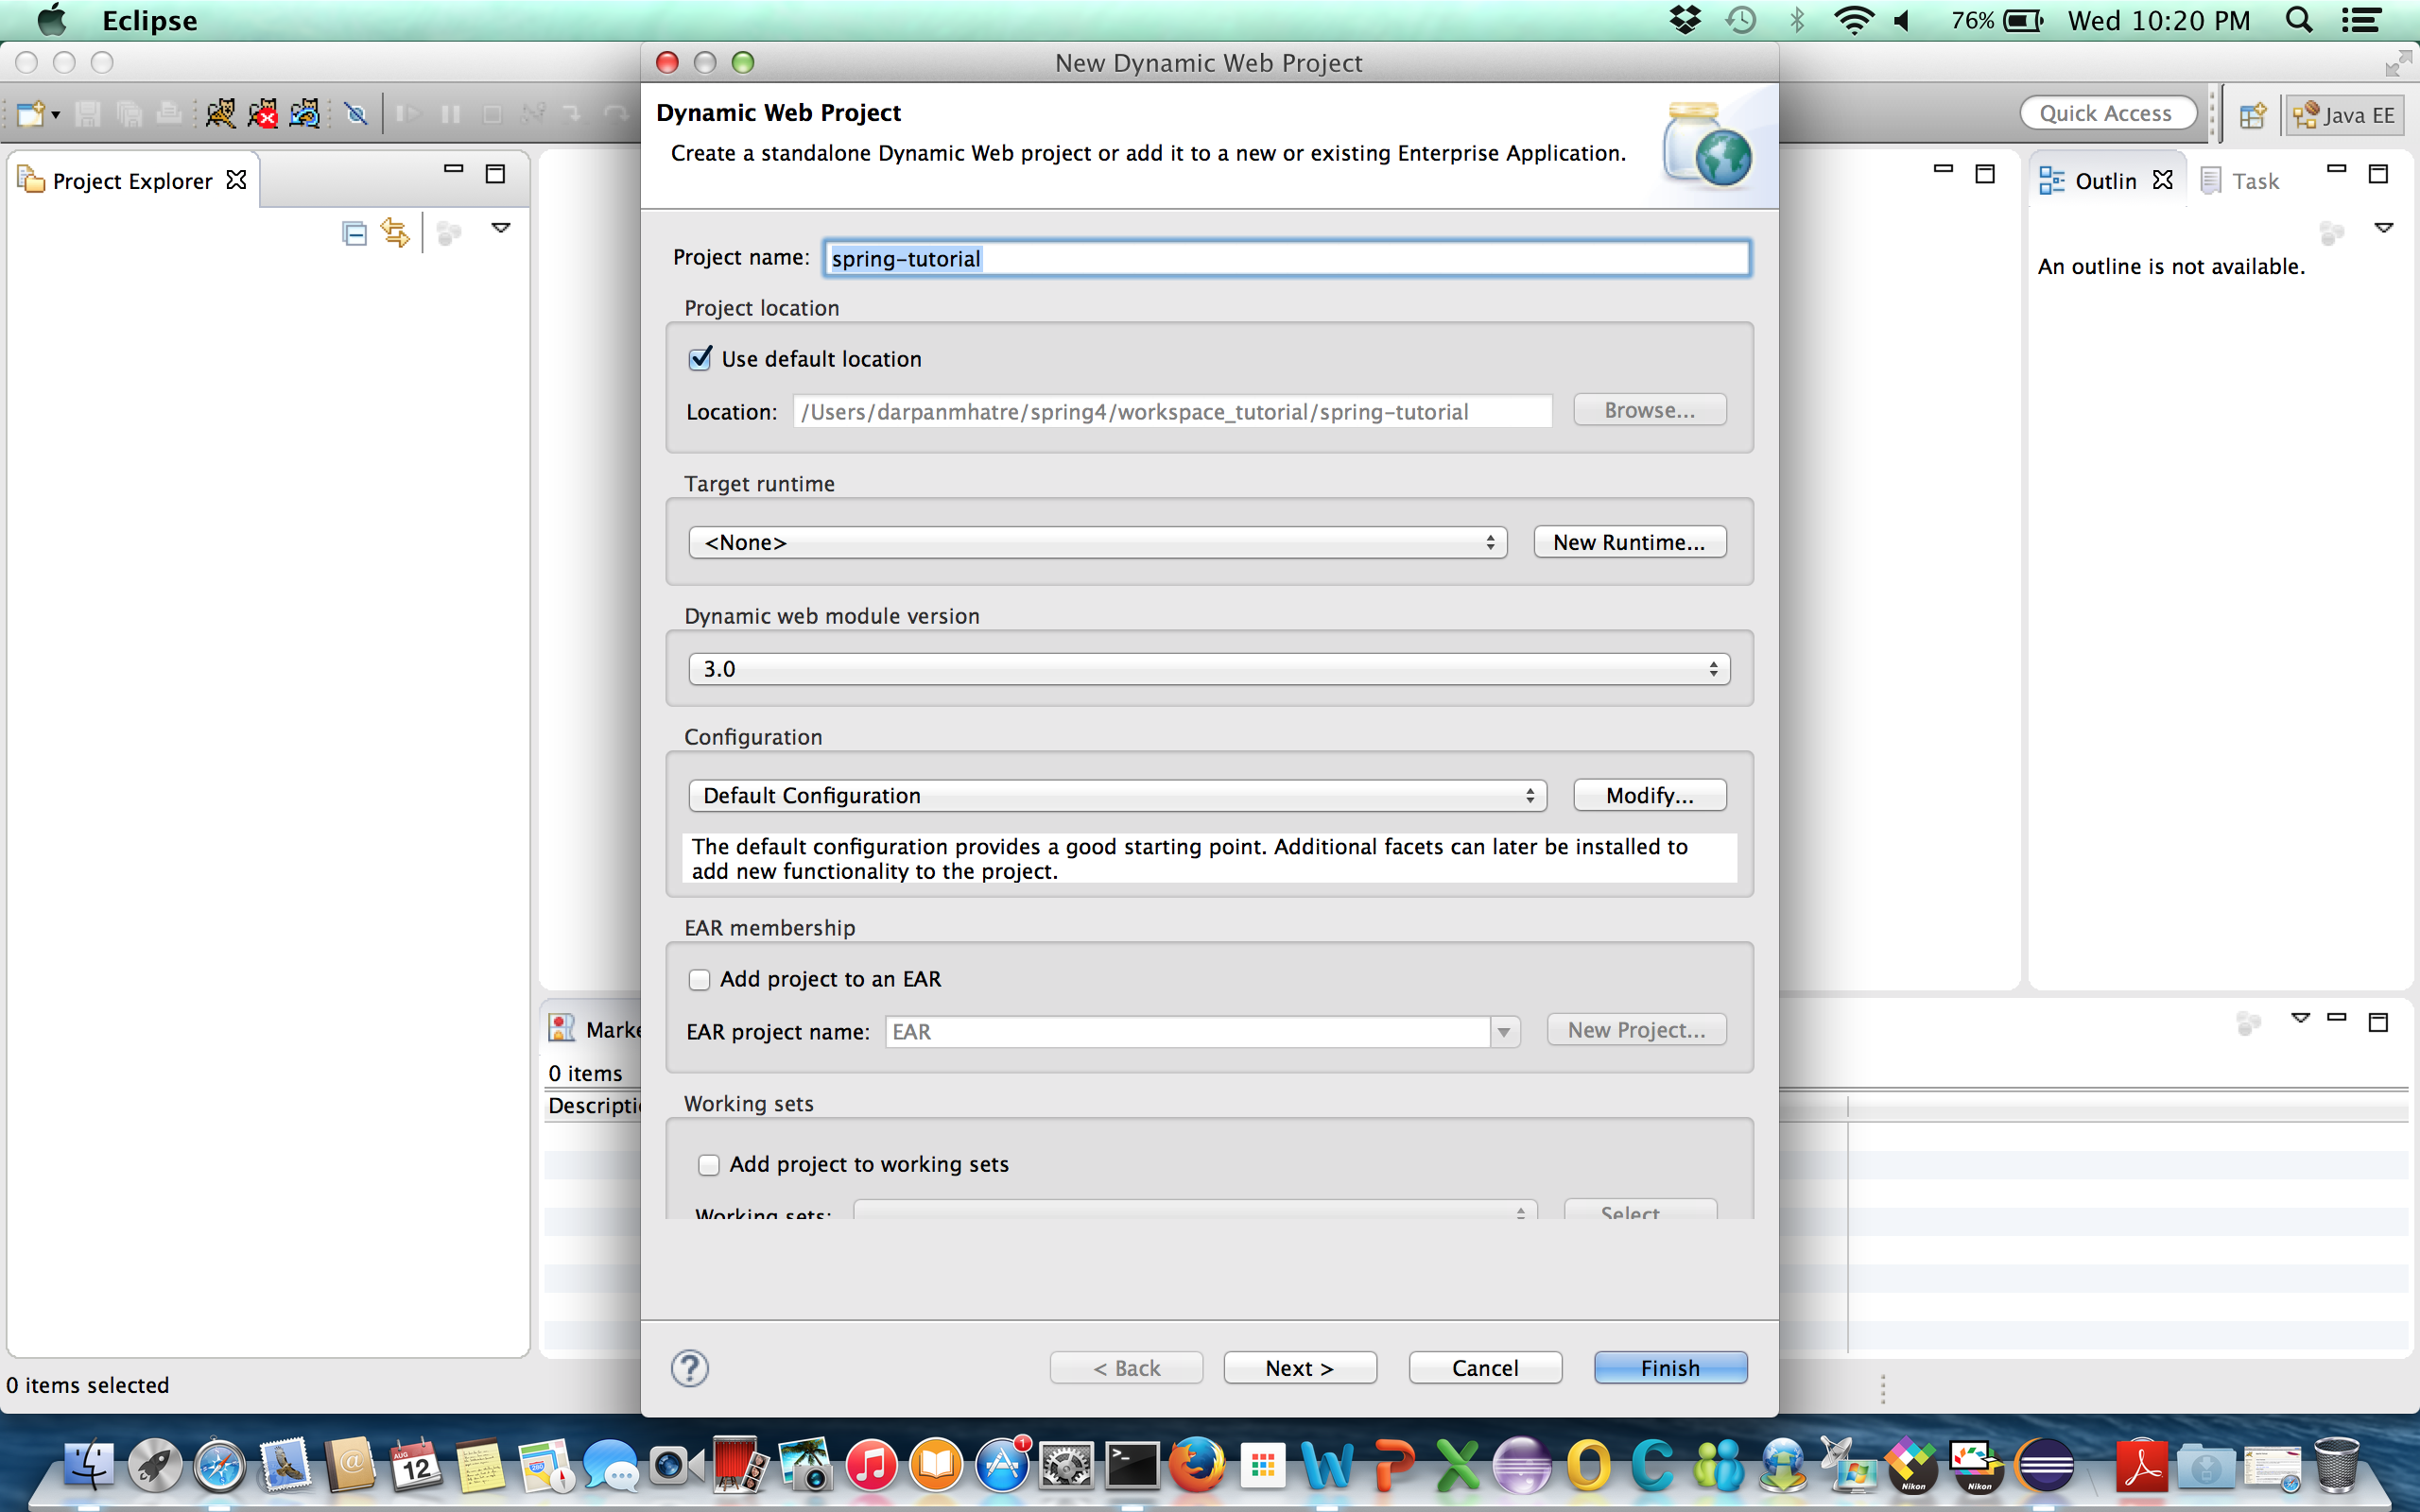
This will create bare structure for web application

3] Lets start with web.xml. It is the first thing tomcat reads when application is deployed
- Right click on WEB-INF folder->New->Other->XML->XML File. Click Next
- Put file name as web.xml then click finish
- This will create web.xml under WEB-INF folder
web.xml
<?xml version="1.0" encoding="UTF-8"?>
<web-app xmlns:xsi="http://www.w3.org/2001/XMLSchema-instance"
xmlns="http://java.sun.com/xml/ns/javaee"
xsi:schemaLocation="http://java.sun.com/xml/ns/javaee
http://java.sun.com/xml/ns/javaee/web-app_3_0.xsd" version="3.0">
<display-name>spring-tutorial/display-name>
<servlet>
<servlet-name>tutorial</servlet-name>
<servlet-class>org.springframework.web.servlet.DispatcherServlet</servlet-class>
<load-on-startup>1</load-on-startup>
</servlet>
<servlet-mapping>
<servlet-name>tutorial</servlet-name>
<url-pattern>*.html</url-pattern>
</servlet-mapping>
</web-app>
So whenever there is a request for *.html it goes to DispatcherServlet which is the front controller for spring MVC.
4] Lets create web application context file
- Right click on WEB-INF folder->New->other->XML->XML File
- Put file name as tutorial-servlet.xml then click finish
This file name should match the servlet name "tutorial" in the above web.xml file followed by -servlet.xml i.e., the file name should be *-servlet.xml.
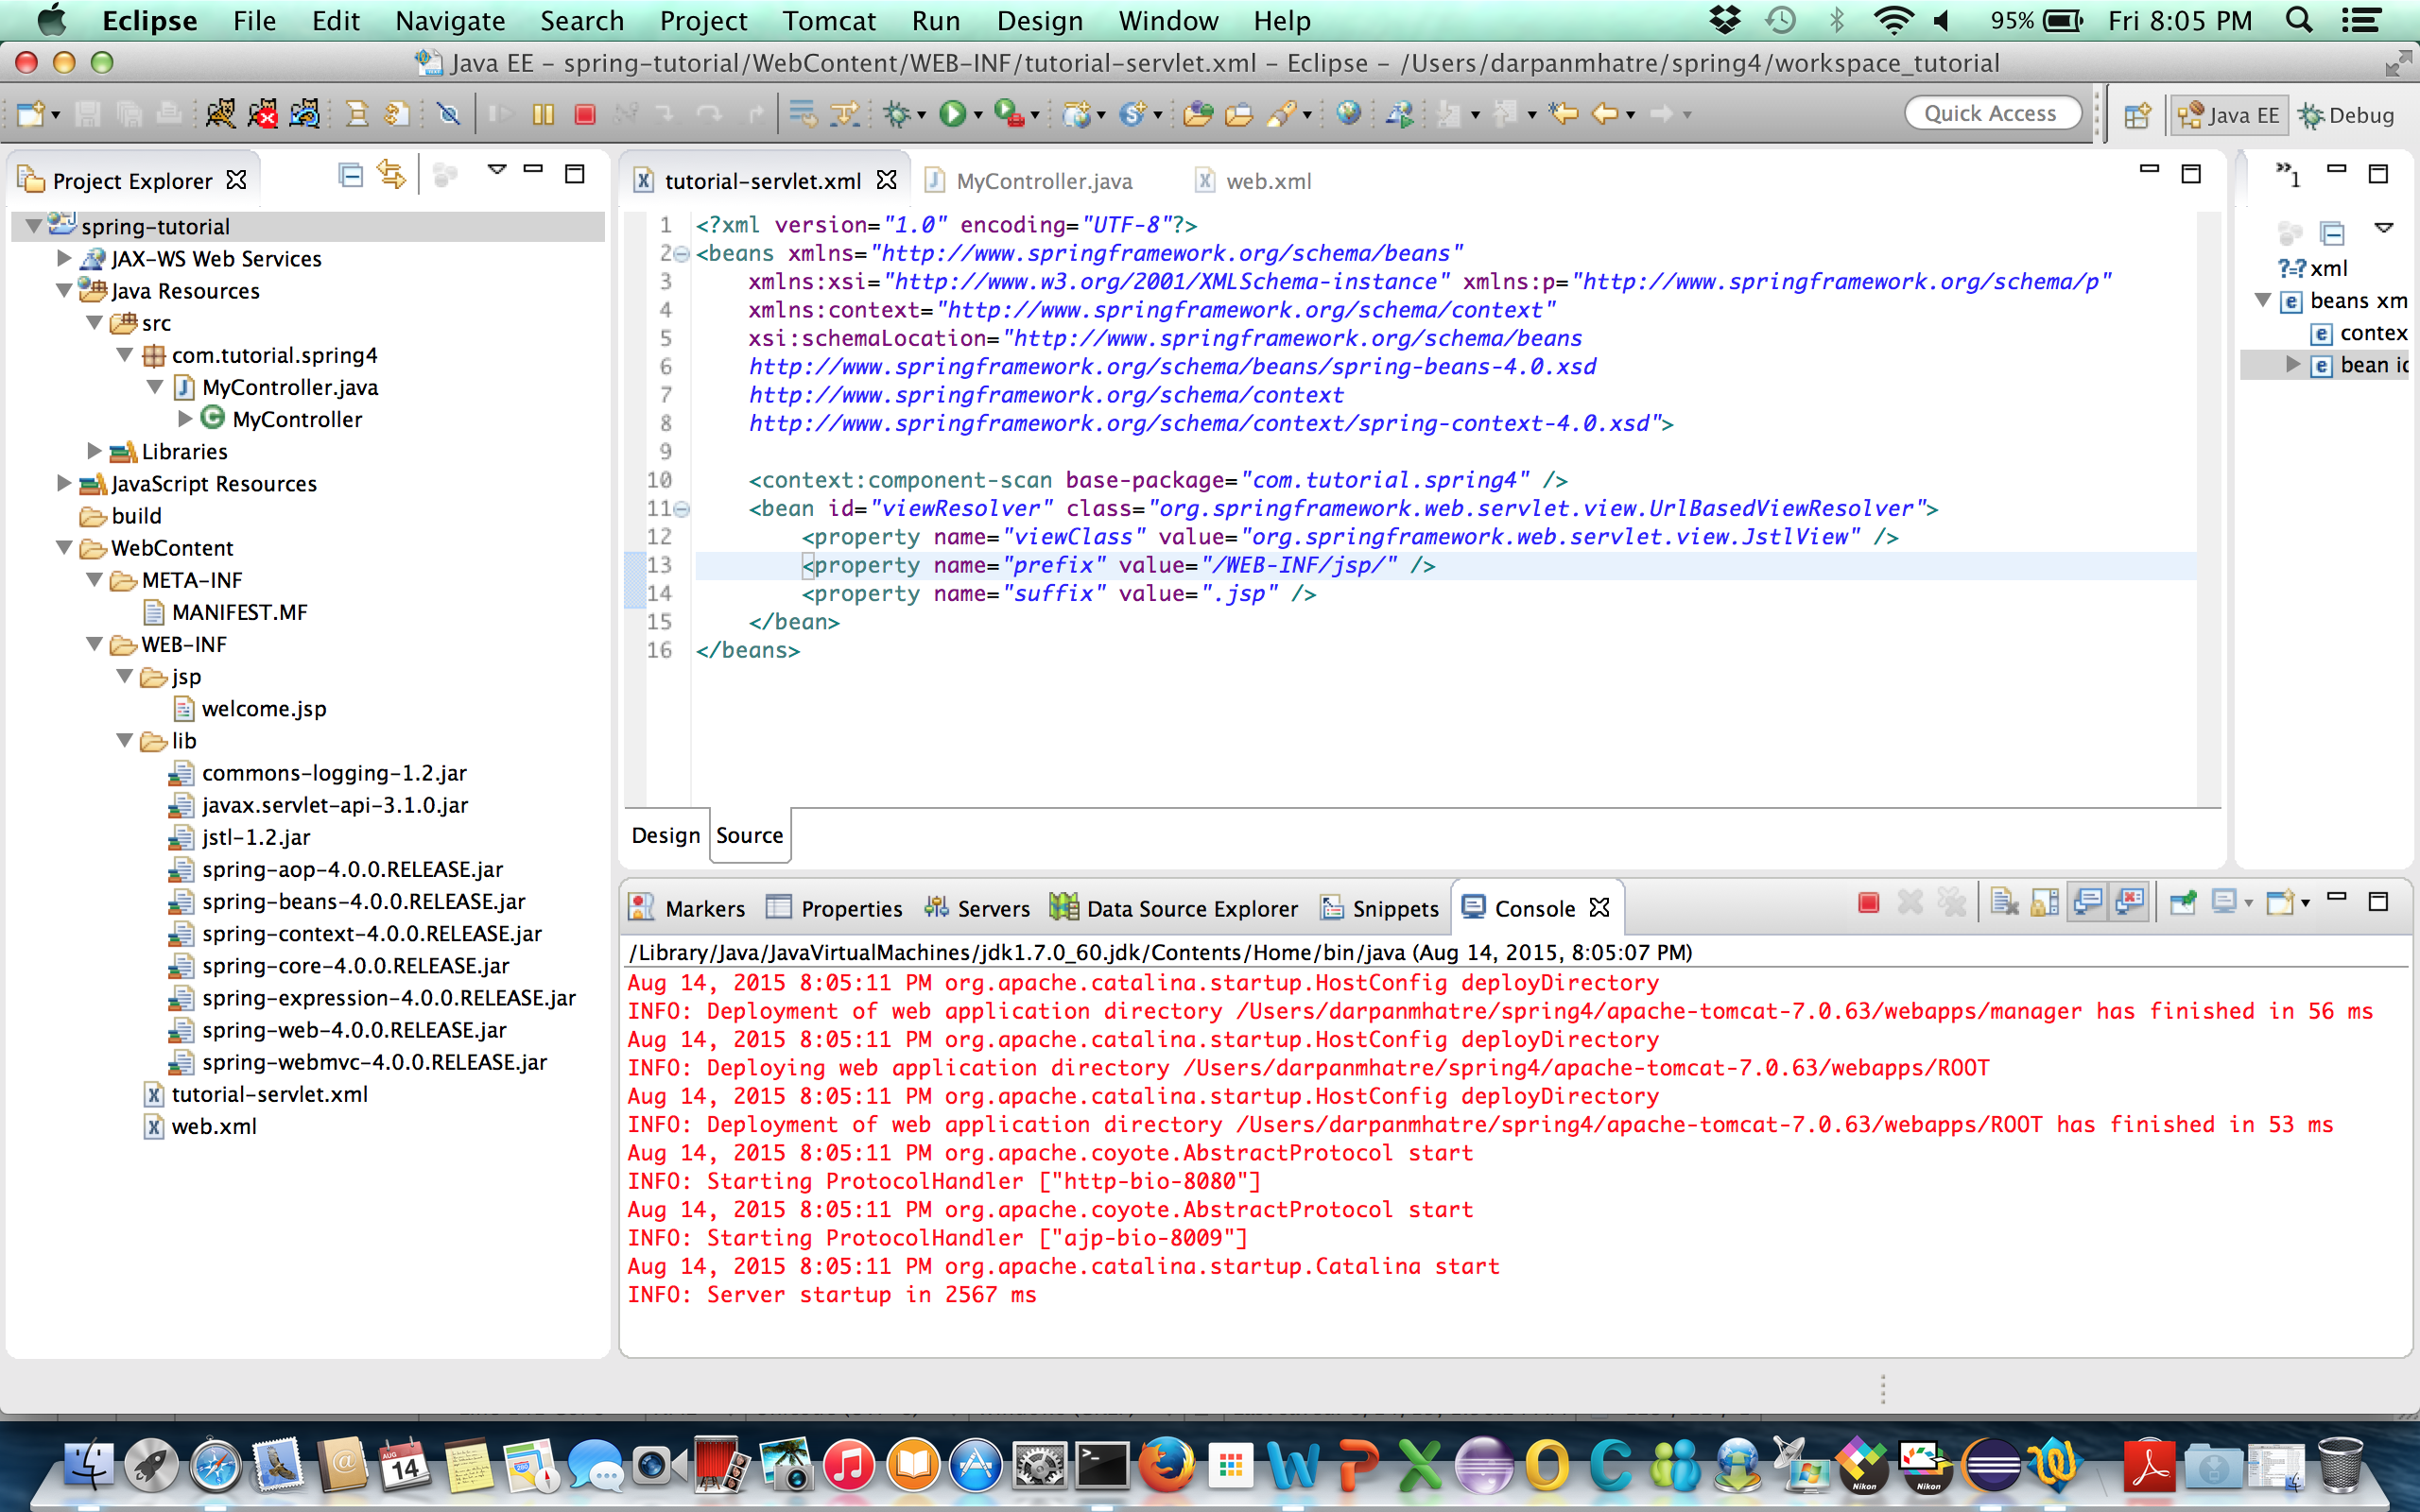
tutorial-servlet.xml
<?xml version="1.0" encoding="UTF-8"?>
<beans xmlns="http://www.springframework.org/schema/beans"
xmlns:xsi="http://www.w3.org/2001/XMLSchema-instance"
xmlns:p="http://www.springframework.org/schema/p"
xmlns:context="http://www.springframework.org/schema/context"
xsi:schemaLocation="http://www.springframework.org/schema/beans
http://www.springframework.org/schema/beans/spring-beans-4.0.xsd
http://www.springframework.org/schema/context
http://www.springframework.org/schema/context/spring-context-4.0.xsd">
<context:component-scan base-package="com.tutorial.spring4" />
<bean id="viewResolver" class="org.springframework.web.servlet.view.UrlBasedViewResolver">
<property name="viewClass" value="org.springframework.web.servlet.view.JstlView" />
<property name="prefix" value="/WEB-INF/jsp/" />
<property name="suffix" value=".jsp" />
</bean>
</beans>
So the base-package is the package where it will scan for controller classes (which are annotted with @Controller) The method in the controller will return the view. This view file will be under /WEB-INF/jsp/ with suffix .jsp
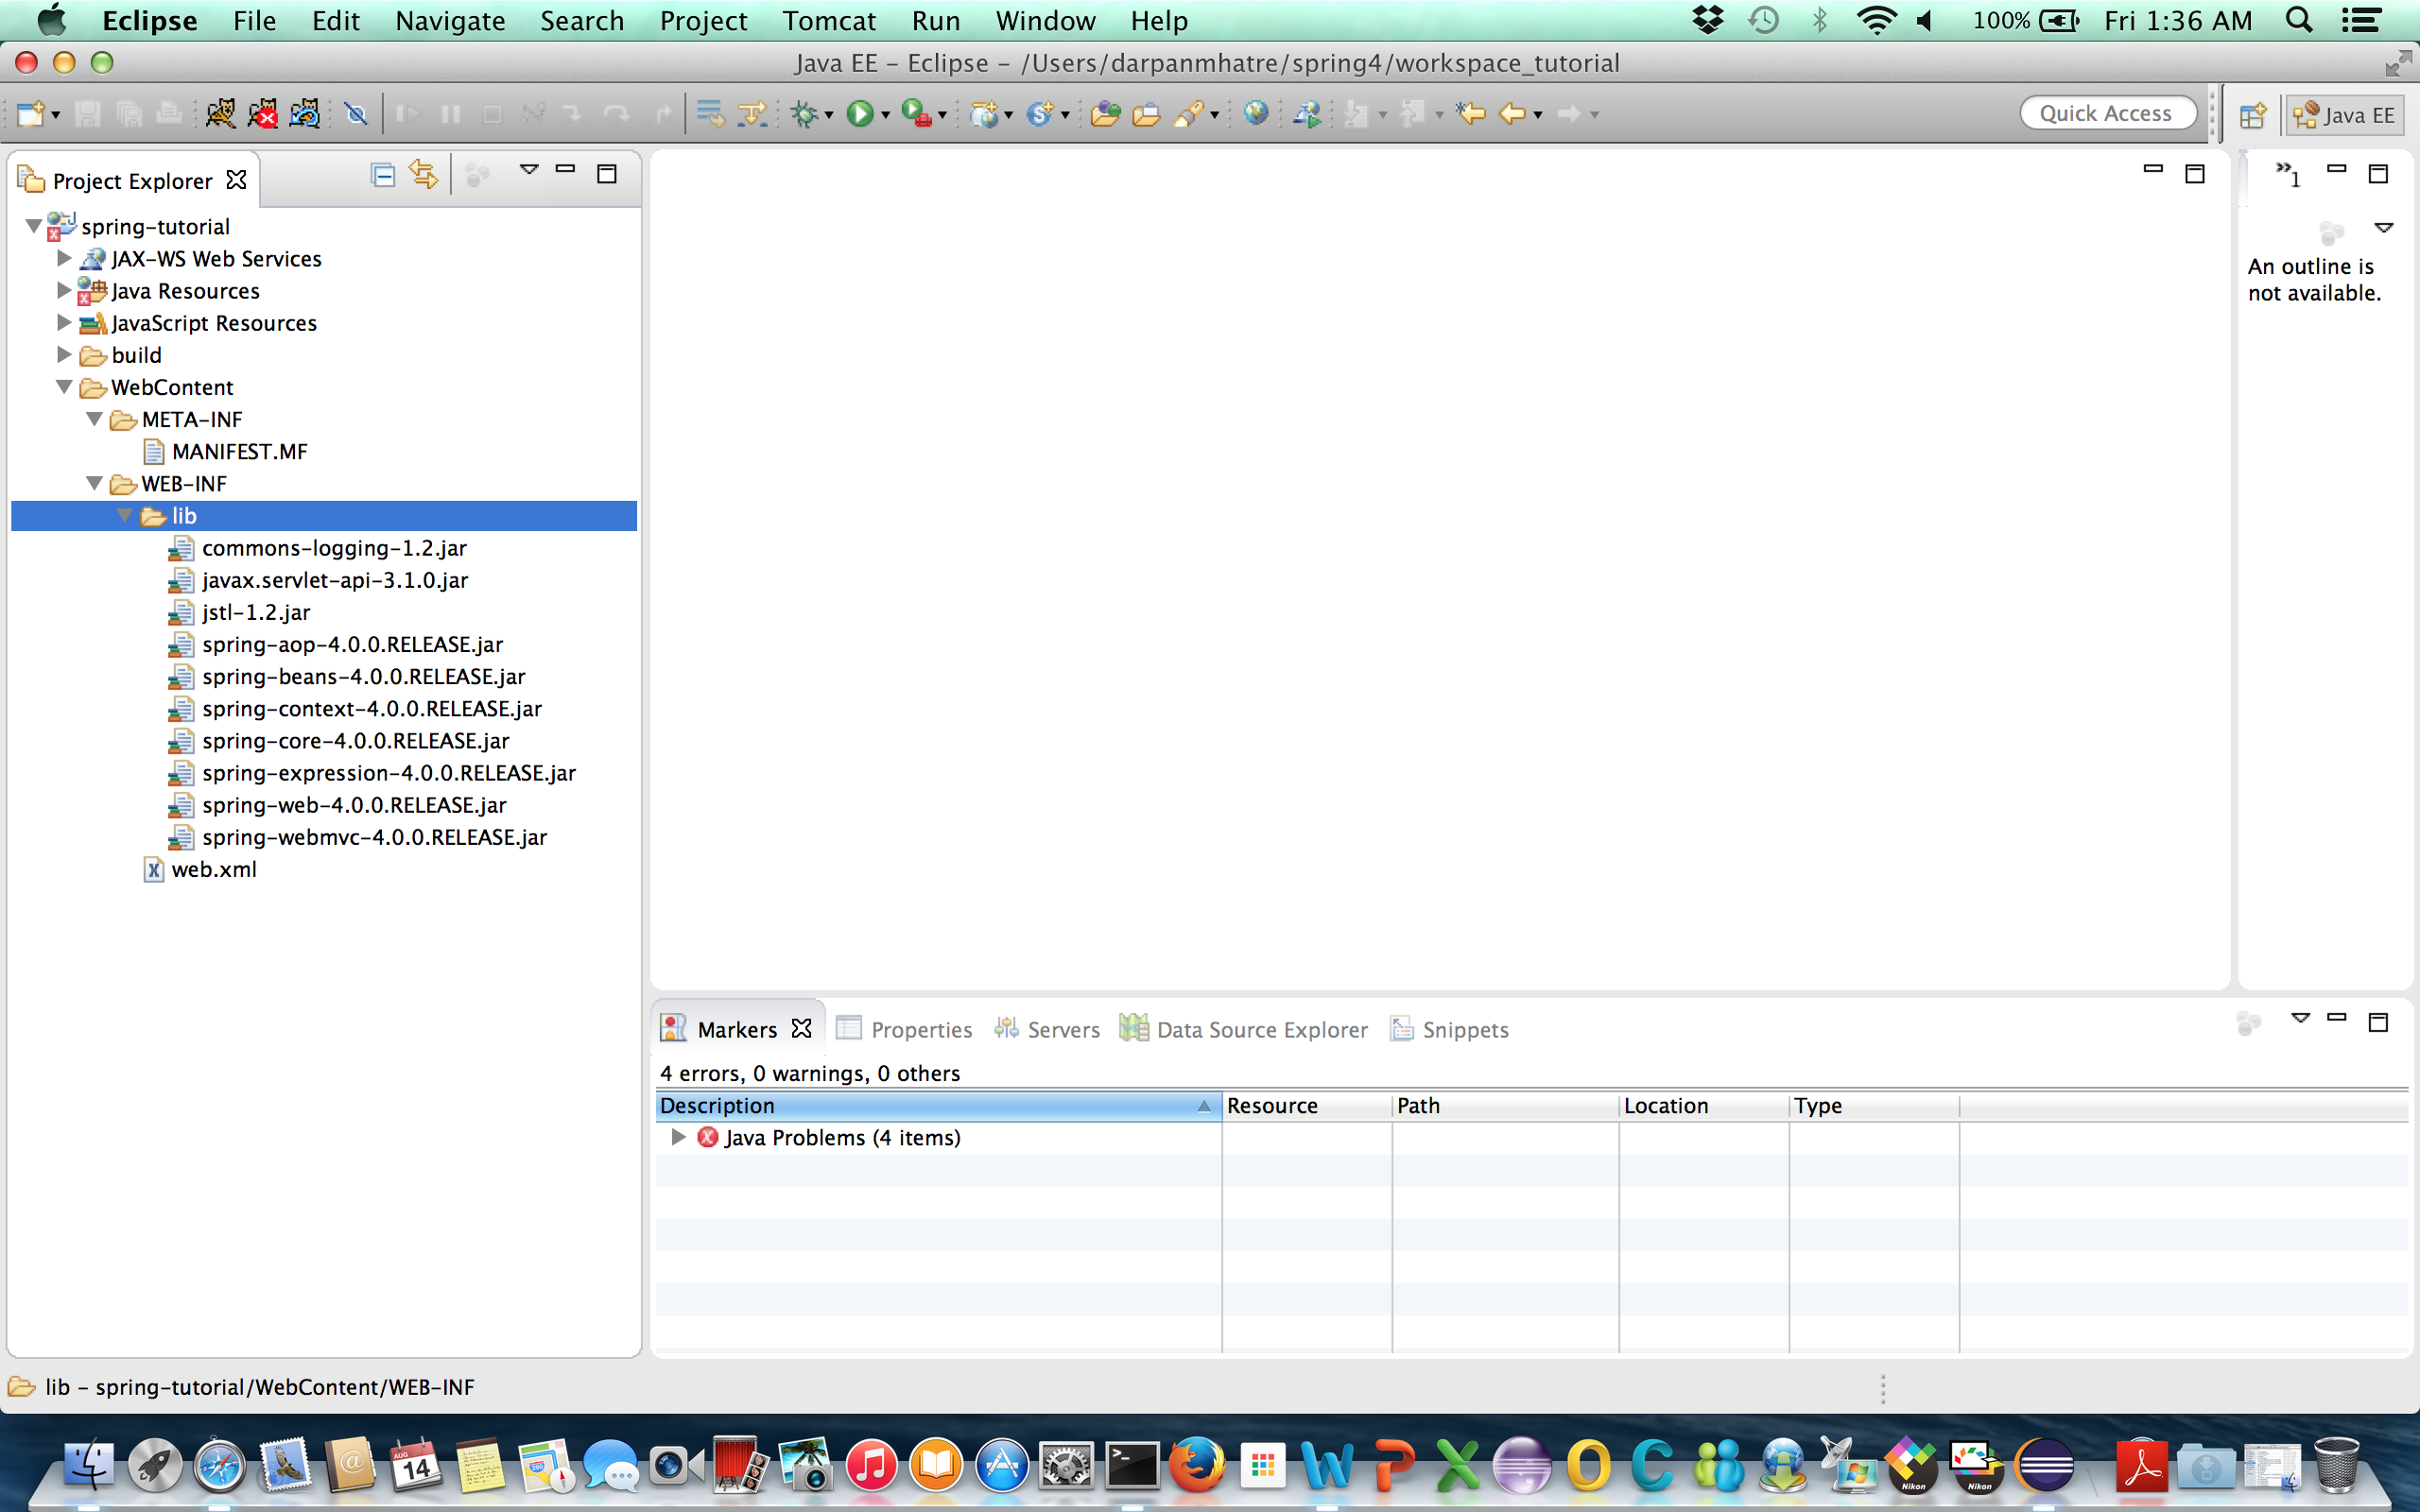
5] Create a lib folder under WEB-INF if it was not created and put minimum required jars under lib folder
- commons-logging-1.2.jar
- javax.servlet-api-3.1.0.jar
- jstl-1.2.jar
- spring-aop-4.0.0.RELEASE.jar
- spring-beans-4.0.0.RELEASE.jar
- spring-context-4.0.0.RELEASE.jar
- spring-core-4.0.0.RELEASE.jar
- spring-expression-4.0.0.RELEASE.jar
- spring-web-4.0.0.RELEASE.jar
- spring-webmvc-4.0.0.RELEASE.jar
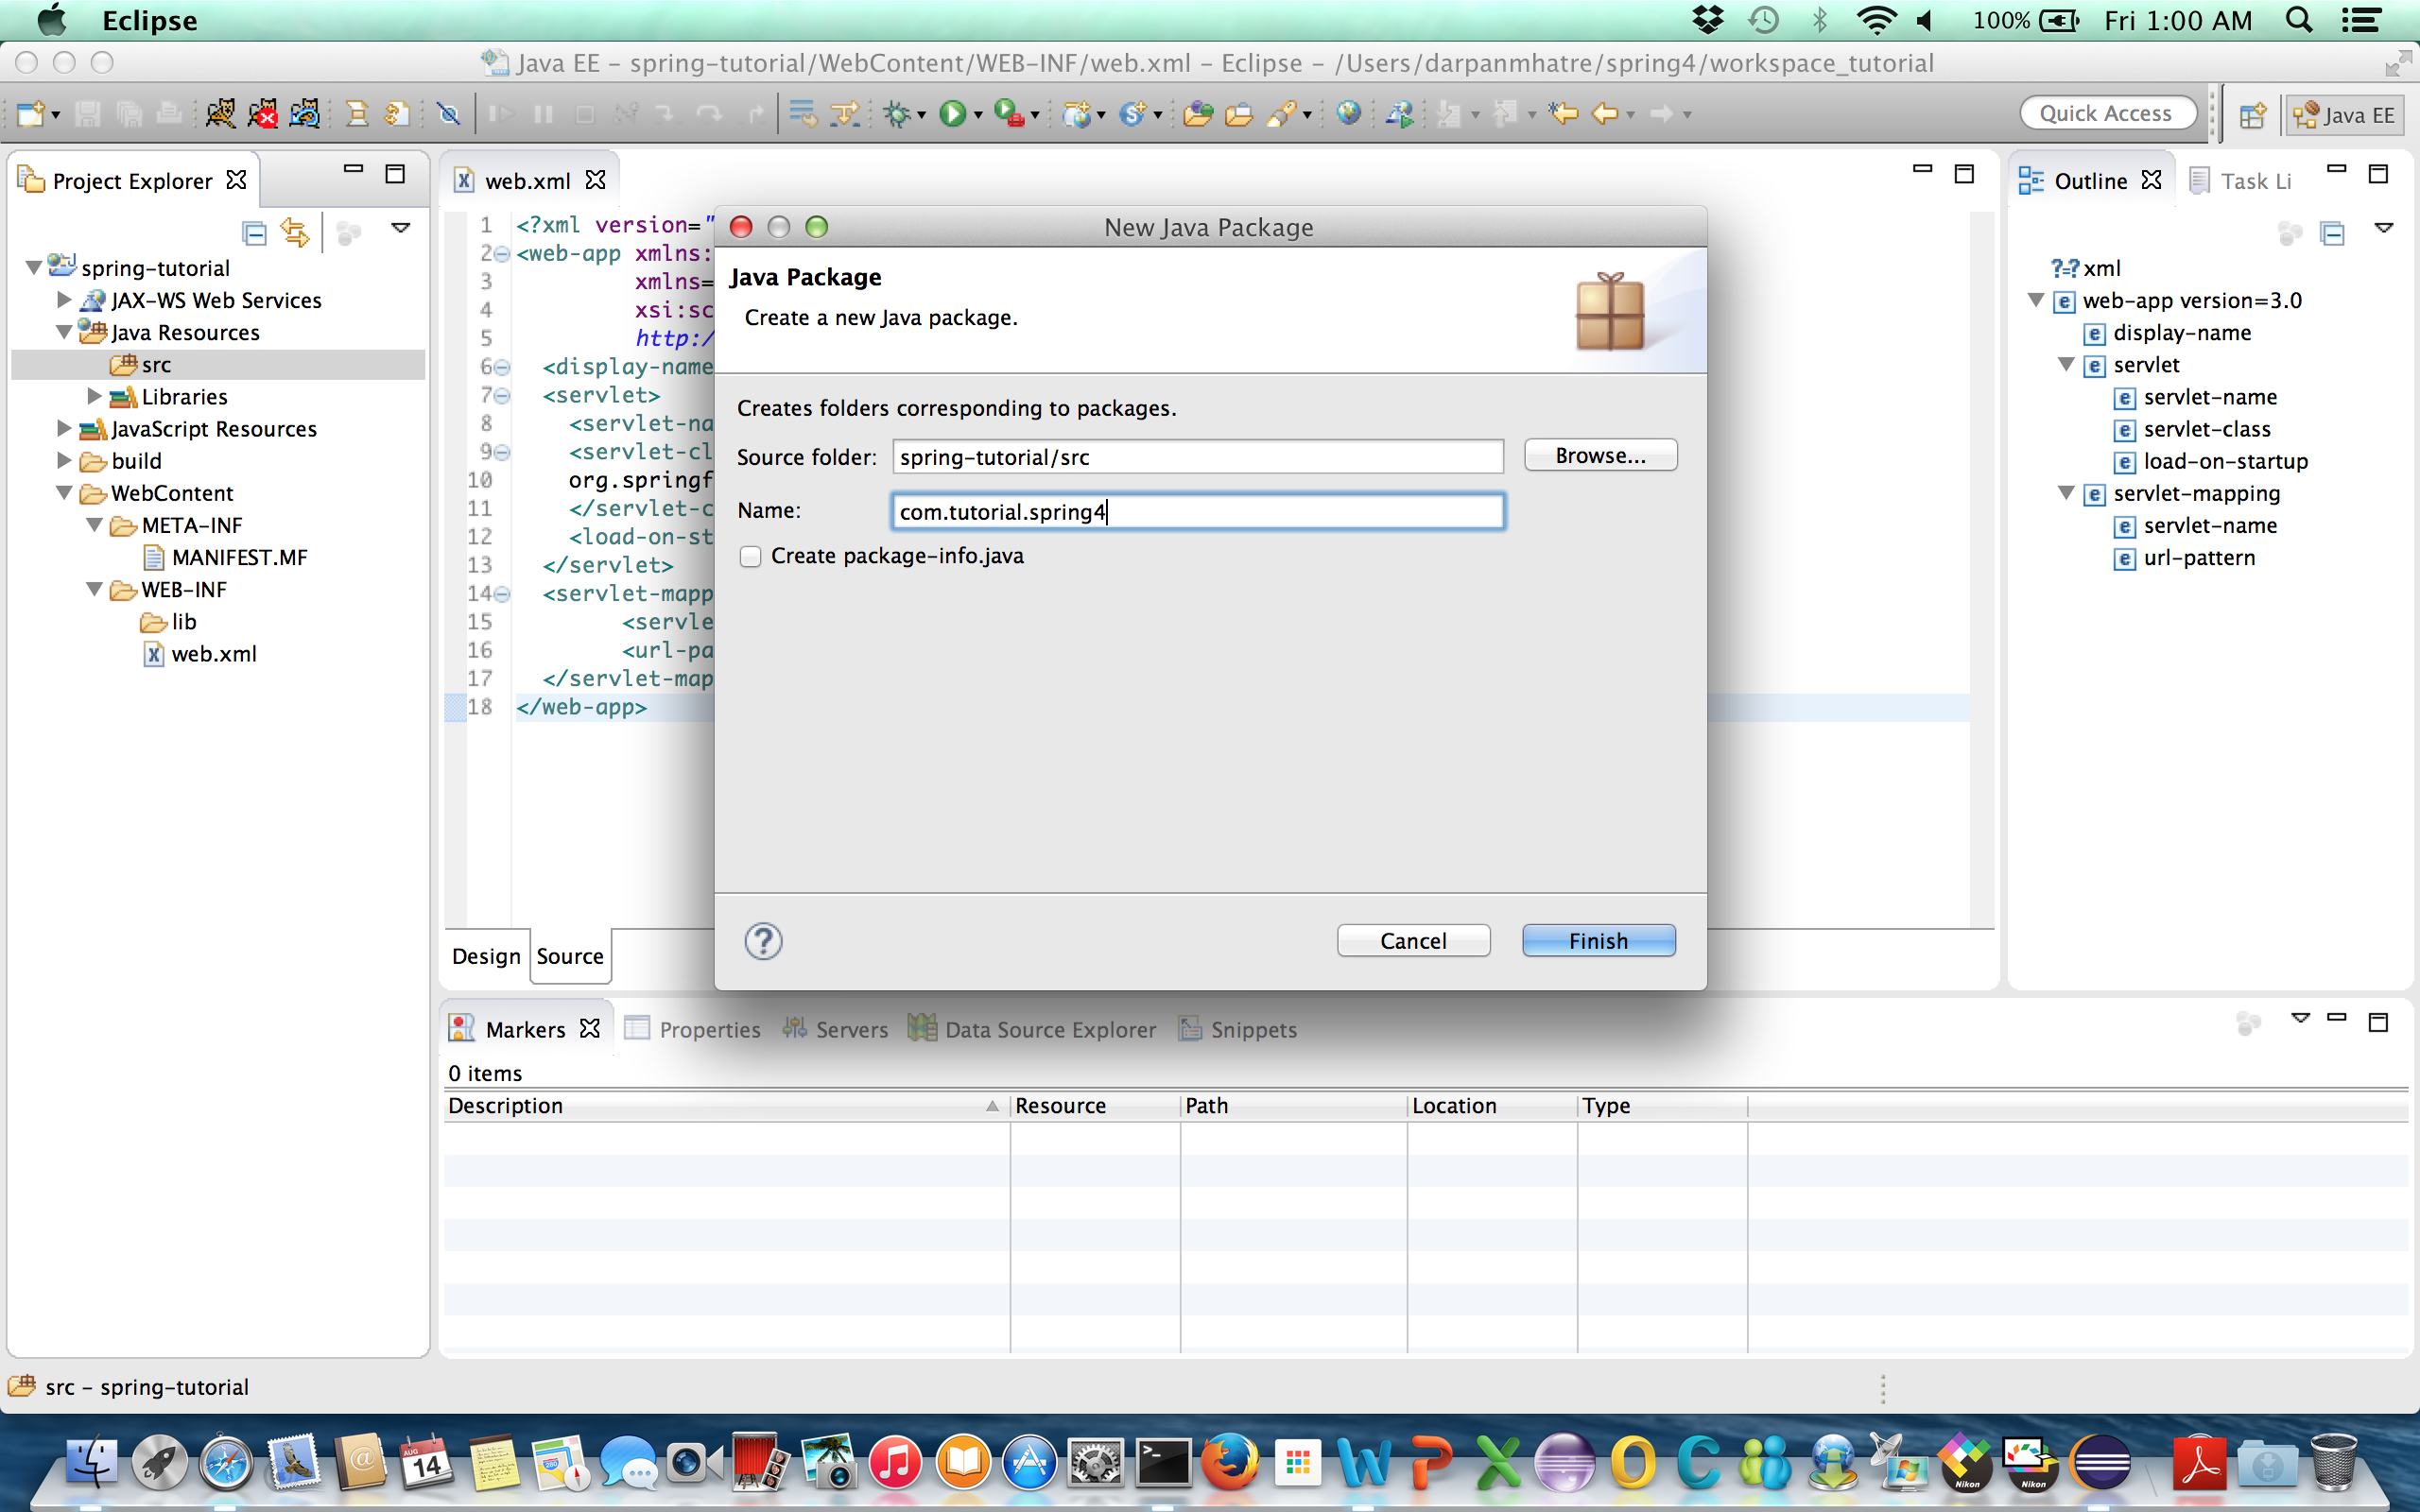
6] Now lets create package
- Right click on src->New->Package and name it as com.tutorial.spring4
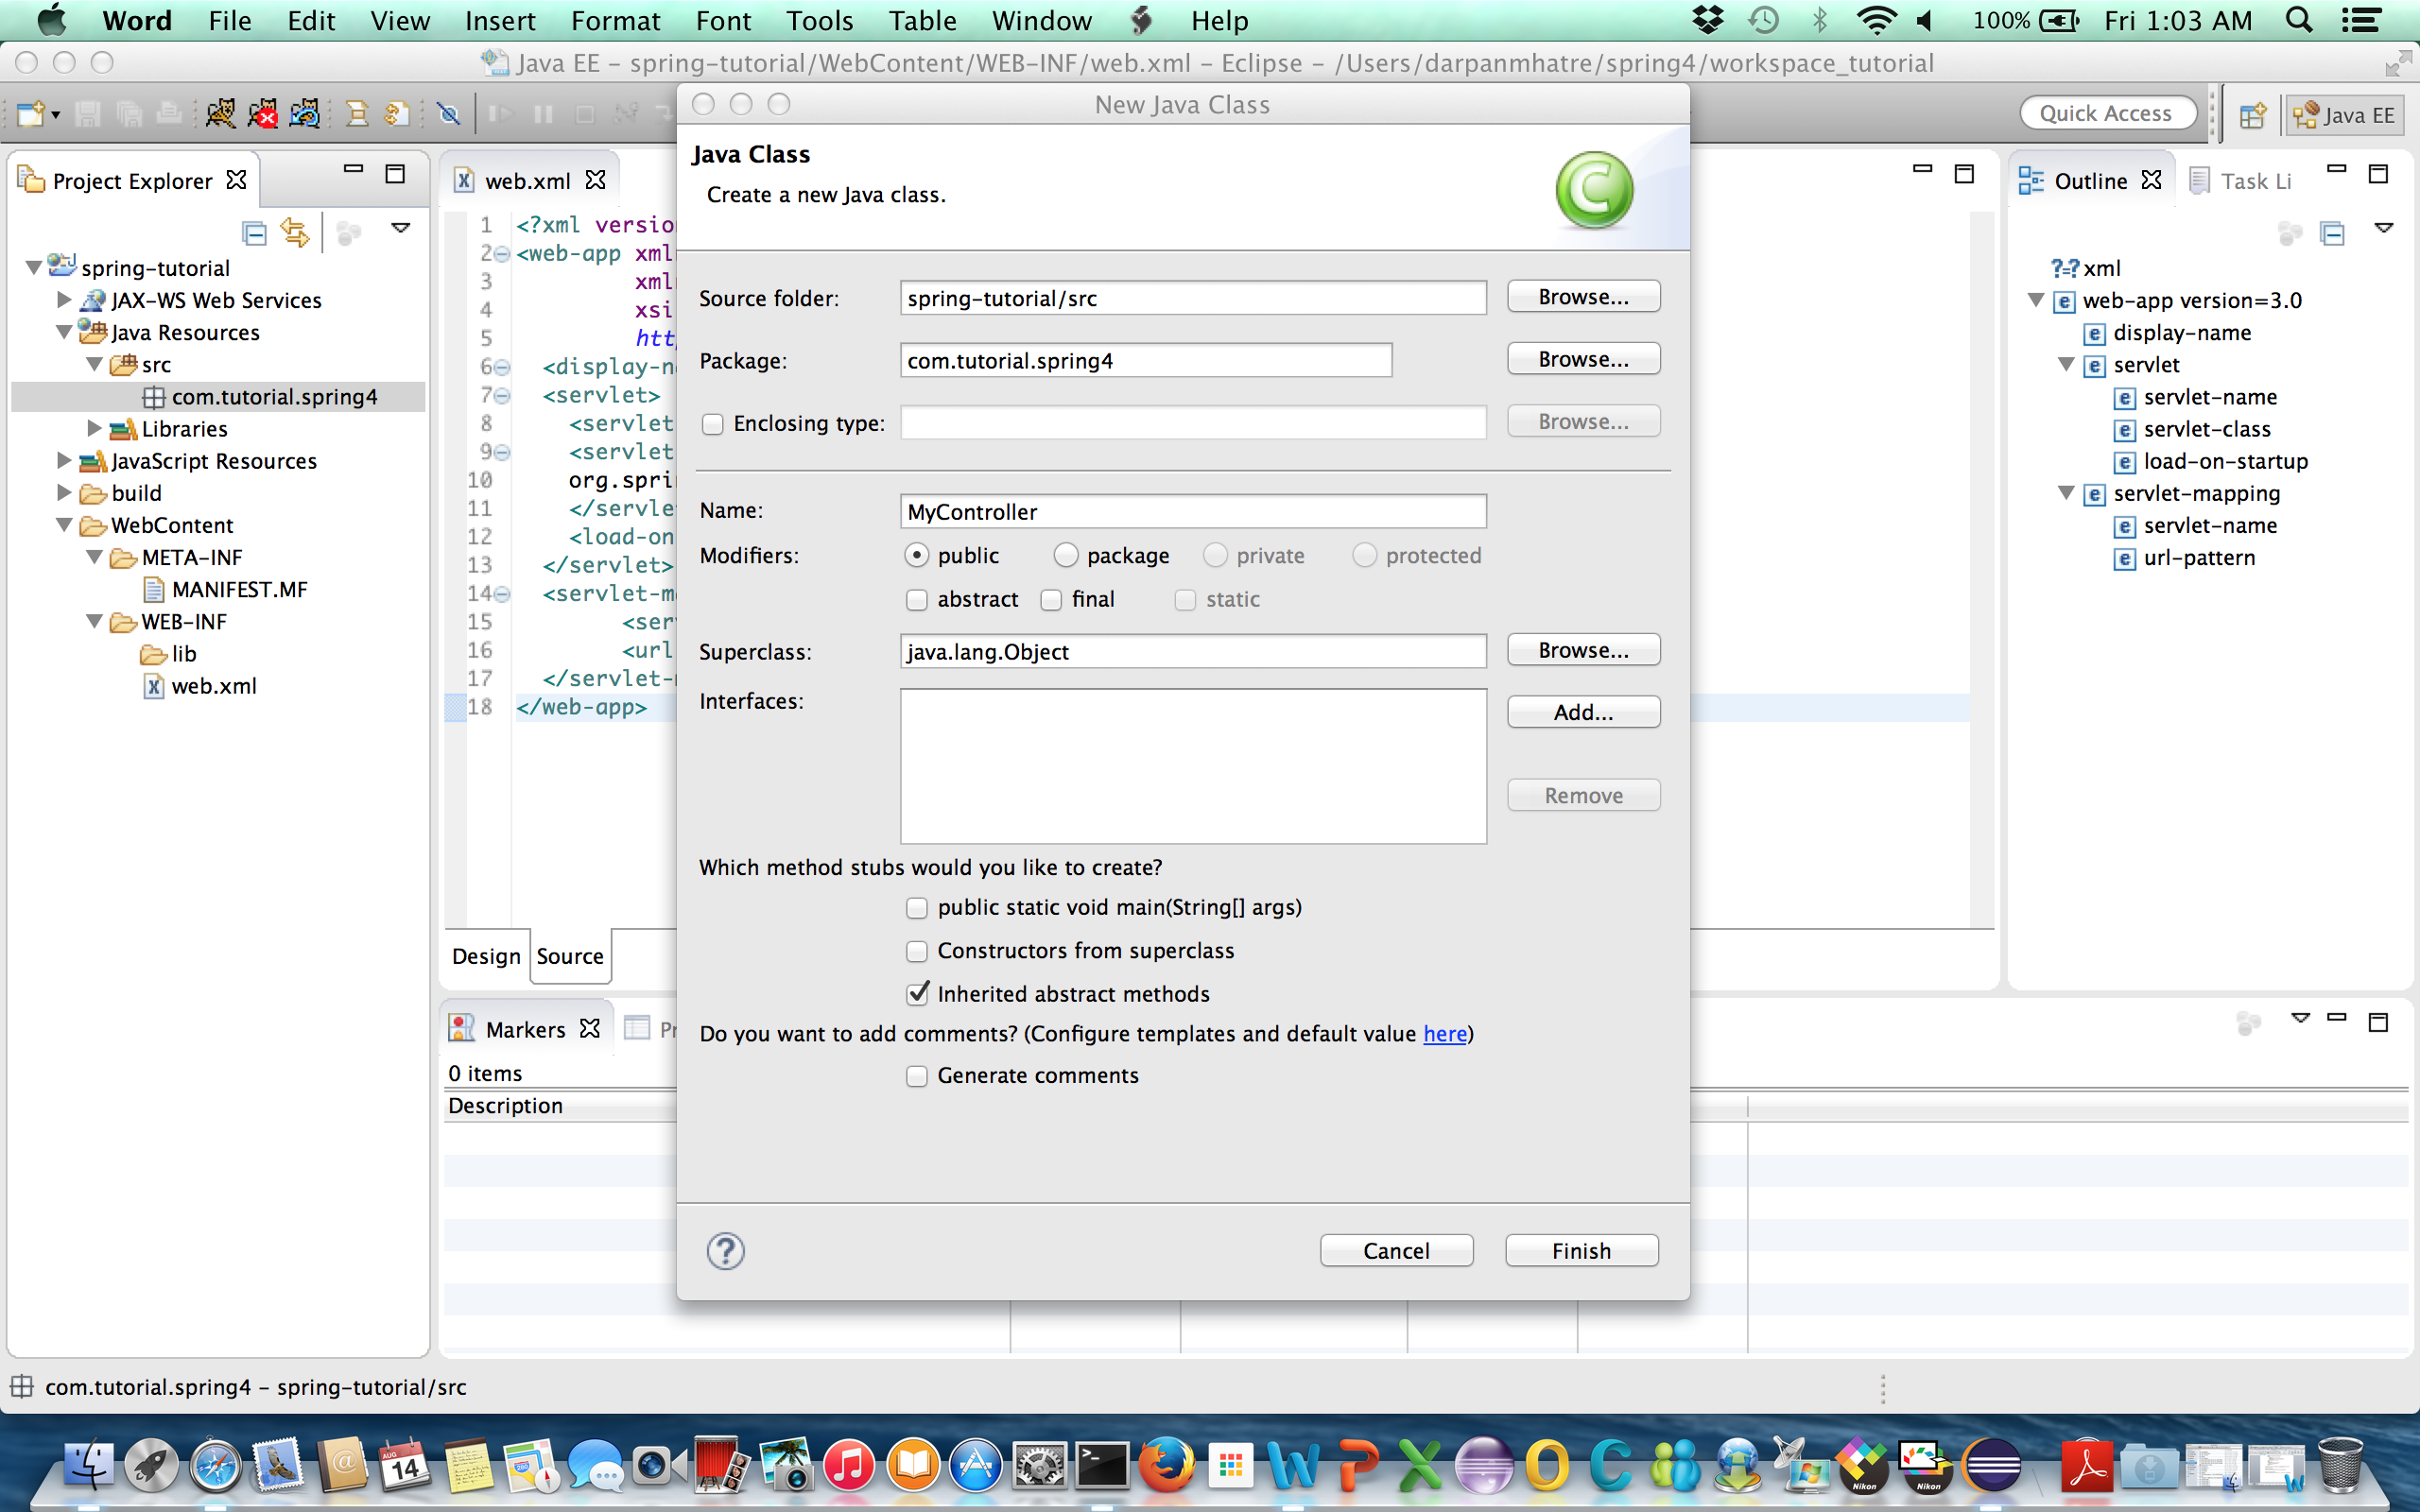
7] Now lets create controller class
- Right click on package com.tutorial.spring4->New->Class and name it as MyController
MyController.java
package com.tutorial.spring4;
import org.springframework.stereotype.Controller;
import org.springframework.web.bind.annotation.RequestMapping;
import org.springframework.web.servlet.ModelAndView;
@Controller
public class MyController {
@RequestMapping("/welcome")
public ModelAndView helloWorld() {
String message = "<div style='text-align:center;'>"
+ "<h3>Hello World, Spring MVC Tutorial</h3>"
+ "This message is coming from MyController.java</div>";
return new ModelAndView("welcome", "message", message);
}
}
8] Create View
Now create folder jsp under WEB-INF and then create welcome.jsp under jsp folder
welcome.jsp
<html>
<head><title>Spring MVC Tutorial</title></head>
<body>${message}</body>
</html>
9] Build the project
As we selected server.xml for Context declaration mode in Step 1, lets configure server.xml in the folder tomcat_home/conf/
Add this line inside <host> tag
<Context docBase="/Users/darpanmhatre/spring4/workspace_tutorial/spring-tutorial/WebContent" path="/spring4"></Context>
Also make sure you select Default output folder:
spring-tutorial/WebContent/WEB-INF/classes
This is the folder where all the compiled code will be generated
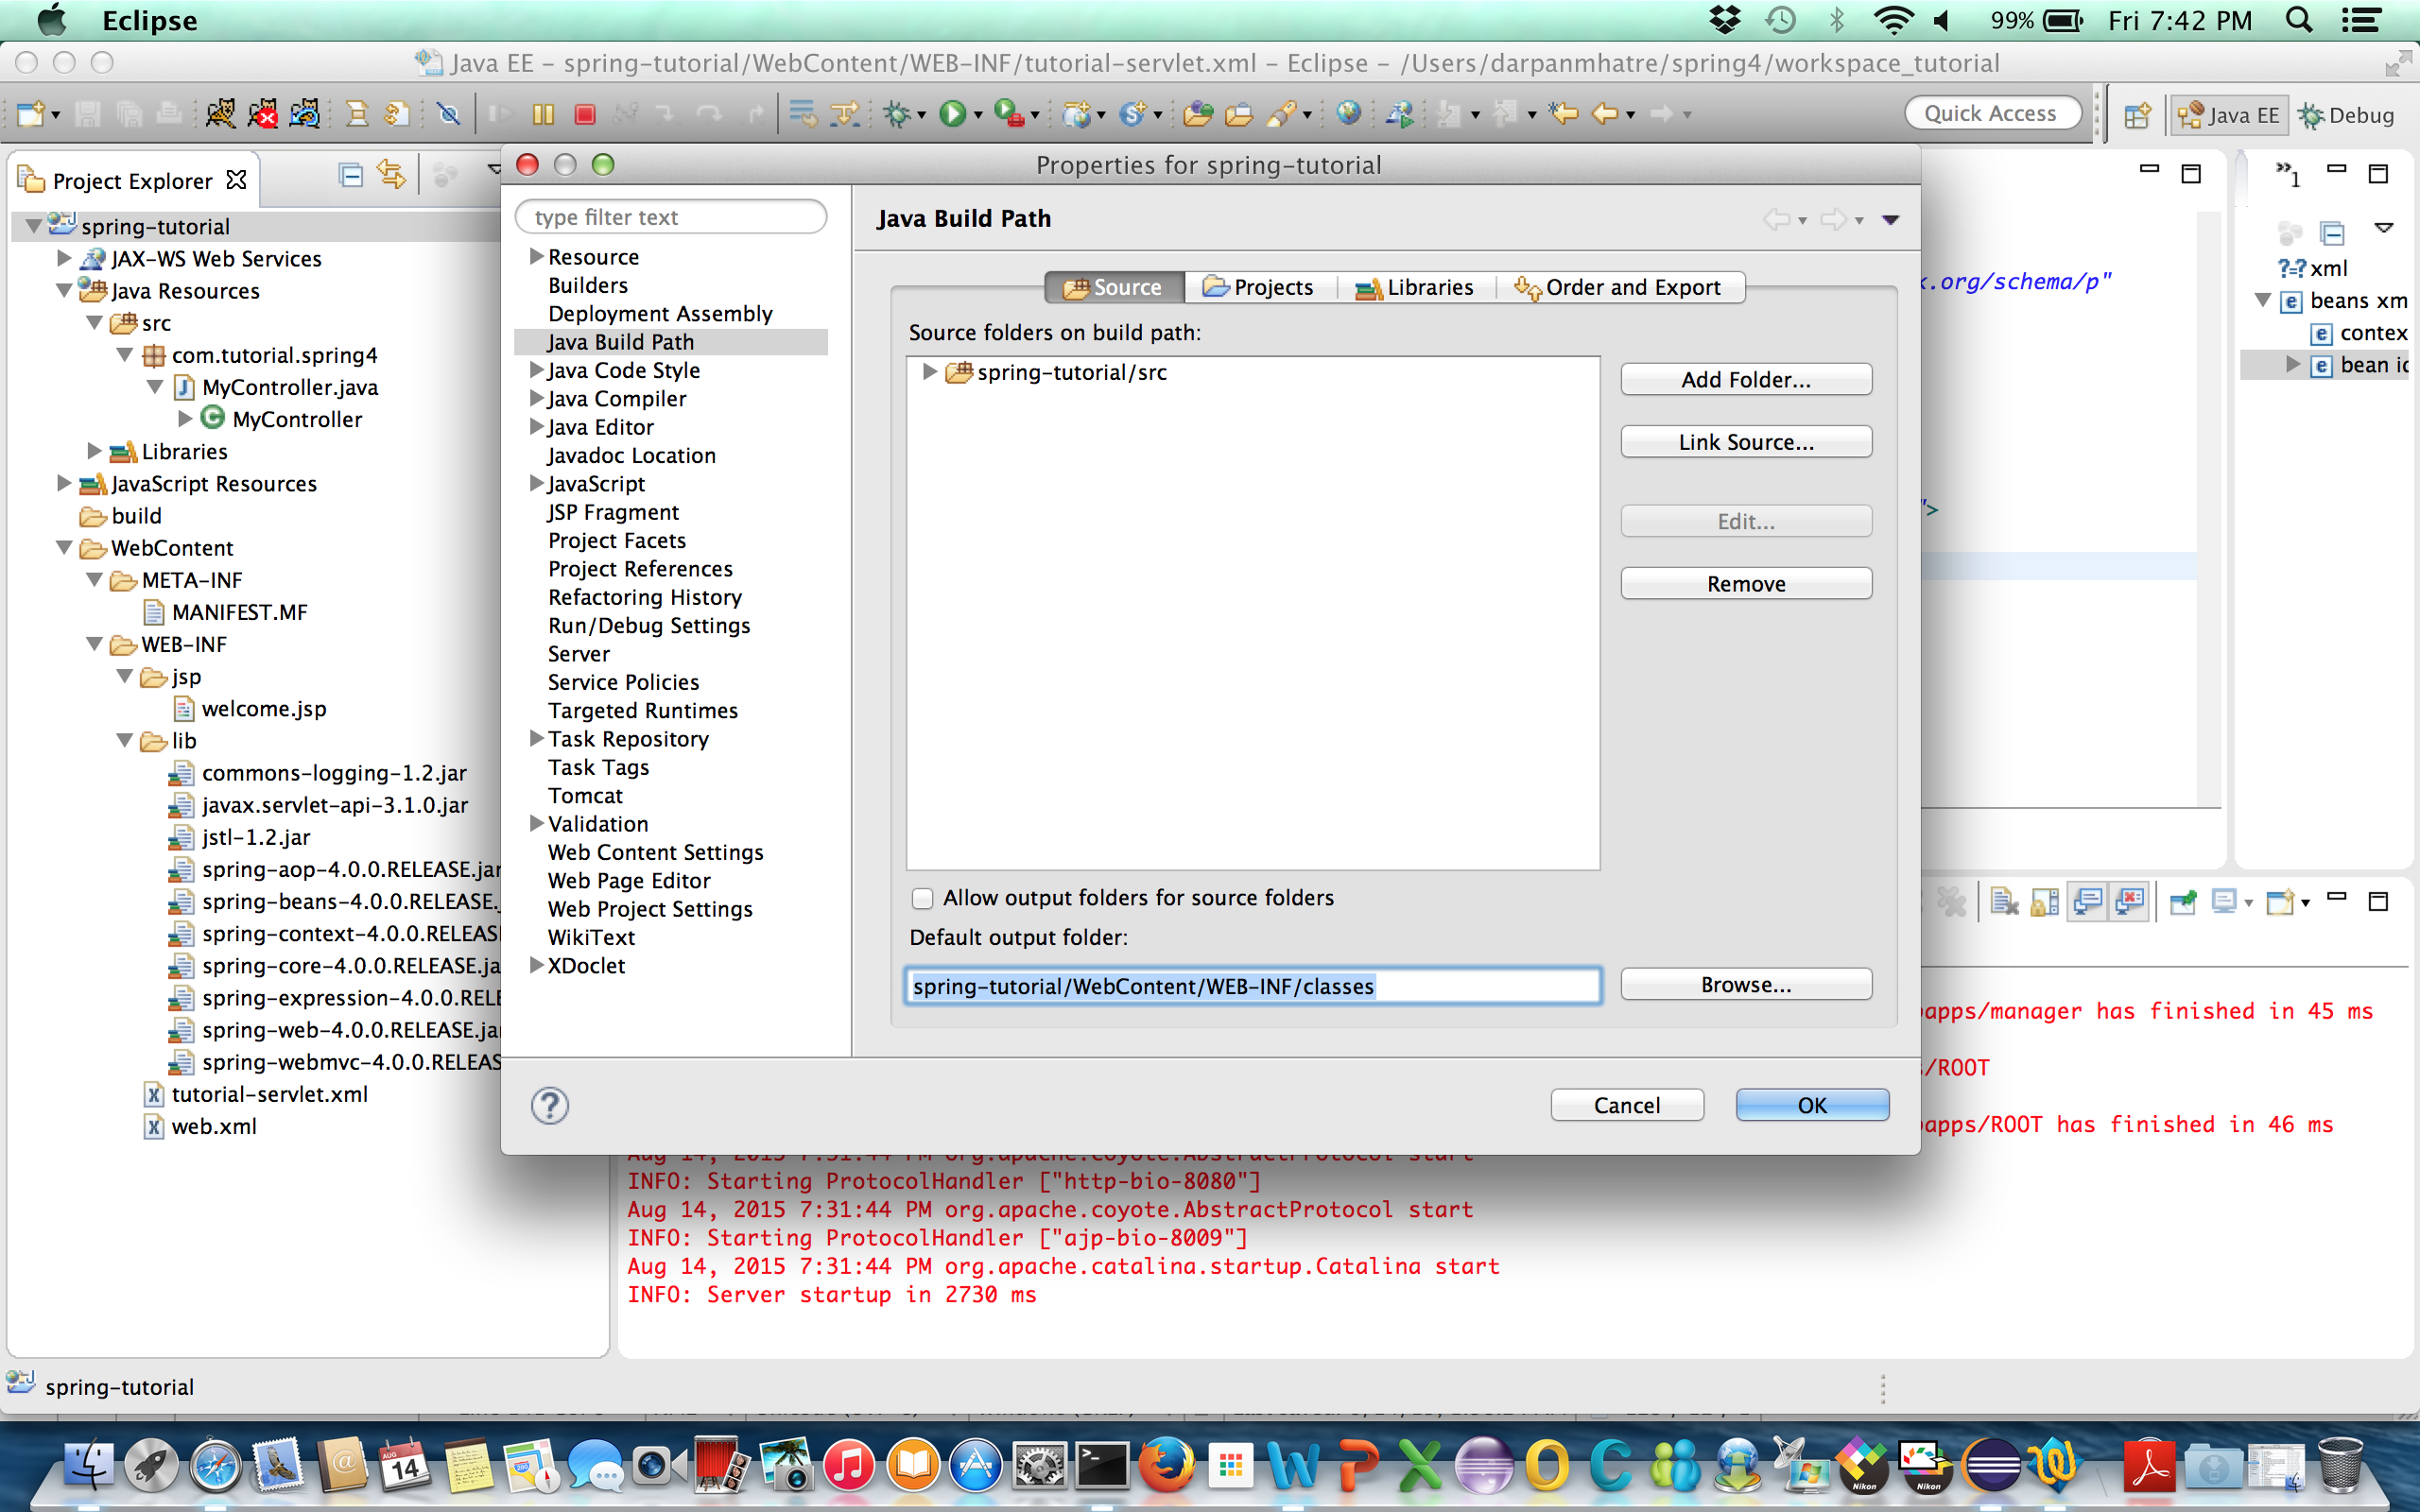
Now go to eclipse tool bar Project and then click Clean. This will remove old files and recompile the project and move the compiled code under WEB-INF/classes.
10] Run the application with tomcat server
Now run the server by clicking the tomcat icon in eclipse tool bar
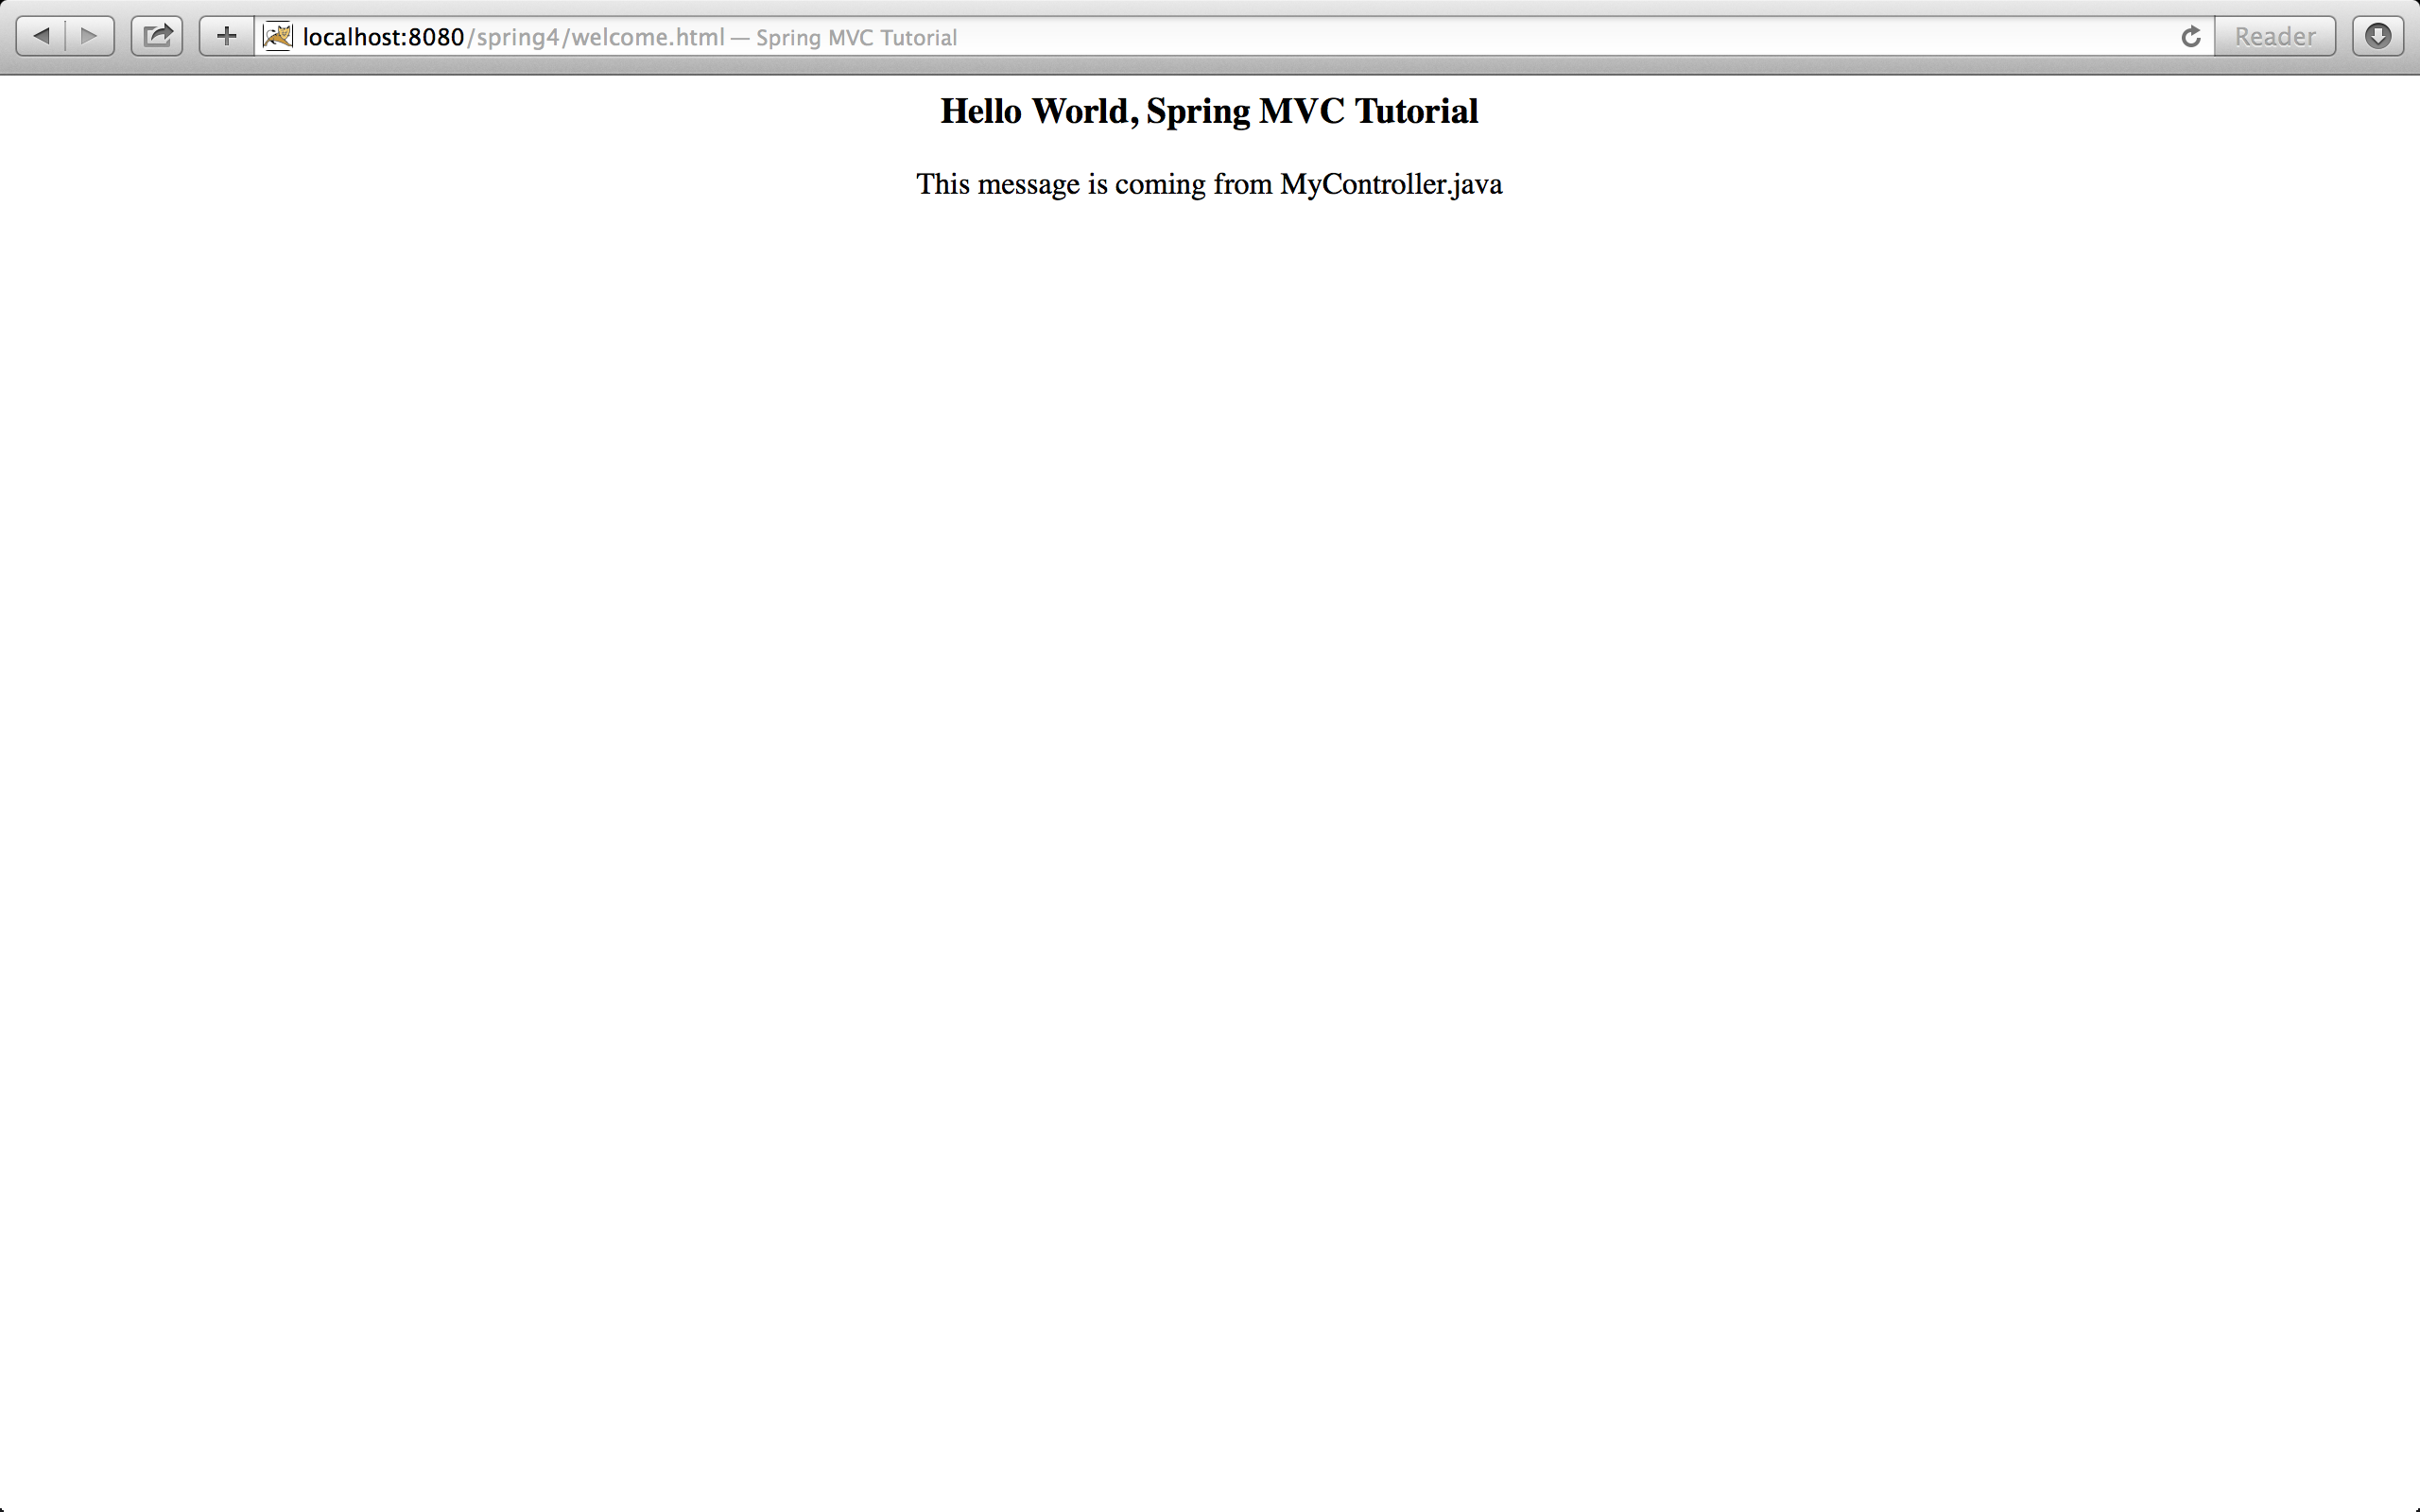
11] Access the application
http://localhost:8080/spring4/welcome.html