The following step-by-step tutorial will guide you to deploy a simple web application built with spring boot and MySQL to amazon web services Elastic Beanstalk, a serverless architecture
Note
- This tutorial assumes you have created a deployable using spring-boot. If not please refer to my previous tutorial here
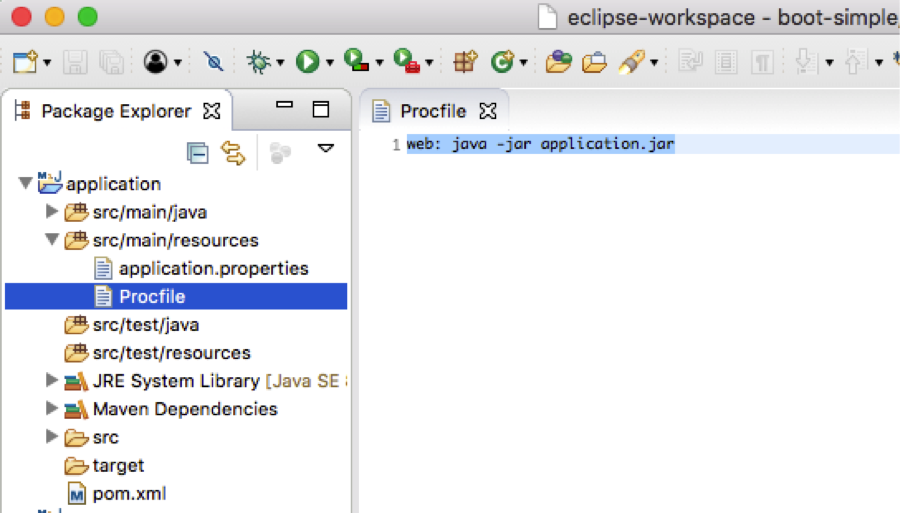
1] Procfile
- Lets create Procfile file under src/main/resources. The container will look for the exact file to run the commands in this case running application.jar
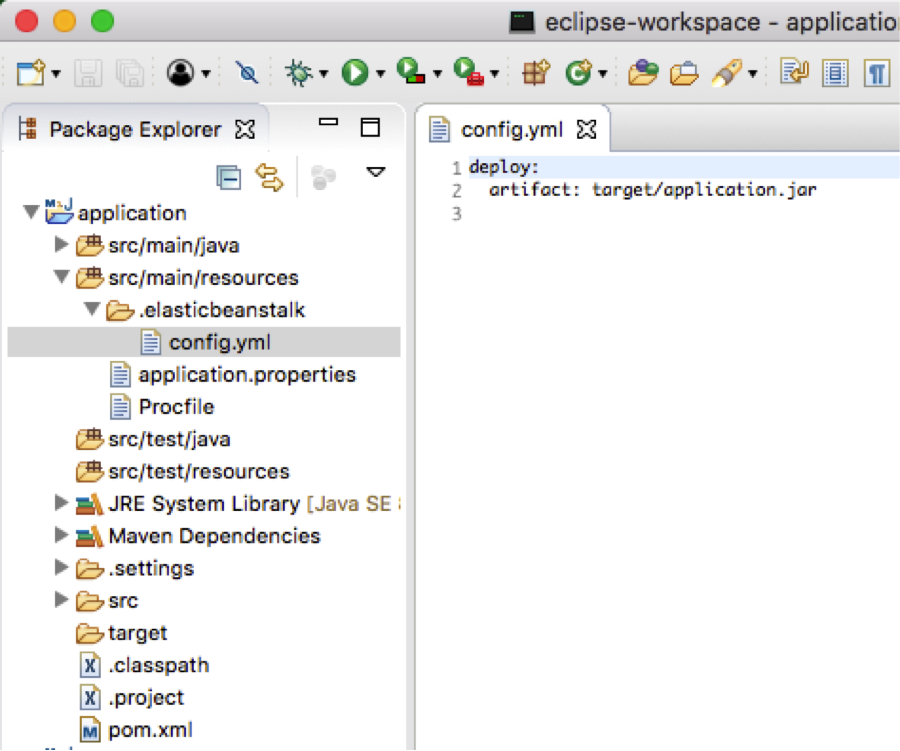
Amazon web services elastic beanstalk will look for config.yml file under resources/.elasticbeanstalk folder
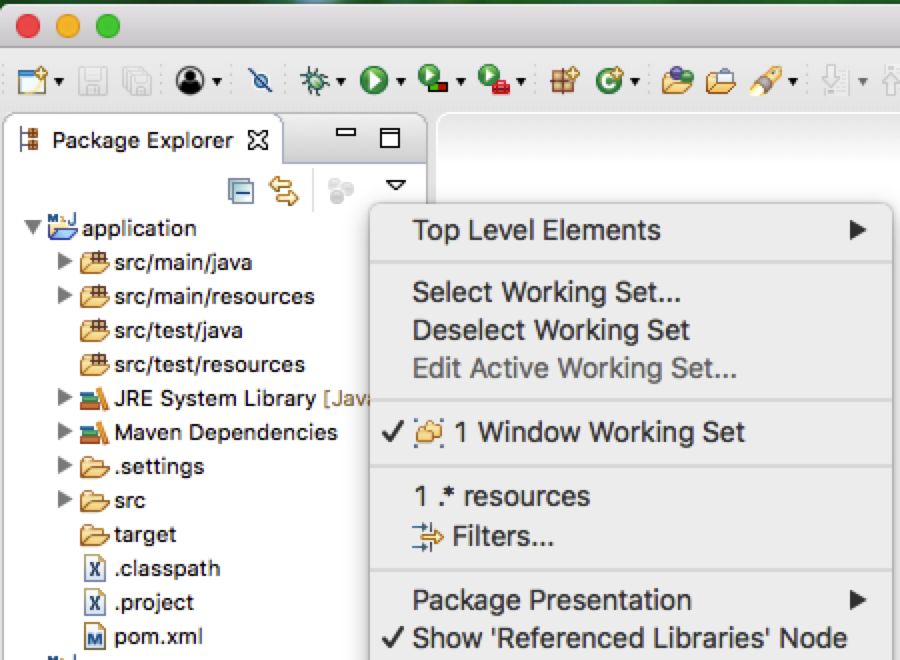
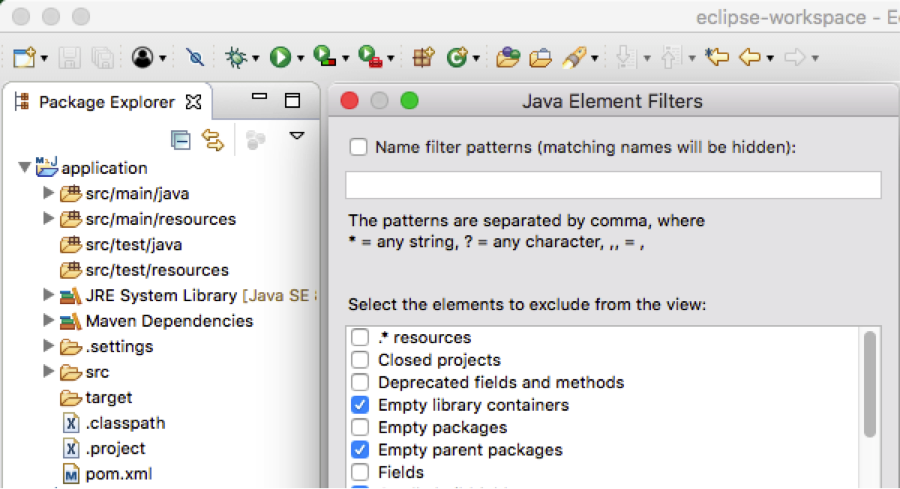
To be able to see the .* files which are hidden in eclipse, click on caret in the Package Explorer -> Filters and then uncheck .* resources and then click OK
- Now create .elasticbeanstalk folder under resources and then create config.yml file. This helps to deploy the application to elasatic beanstalk
- Now build the project and expand target directory, where you should see application-0.0.1-SNAPSHOT.jar
- Lets rename this to application.jar and we are ready with the application package to deploy
2] Deploy on Amazon Web Services Elastic Beanstalk
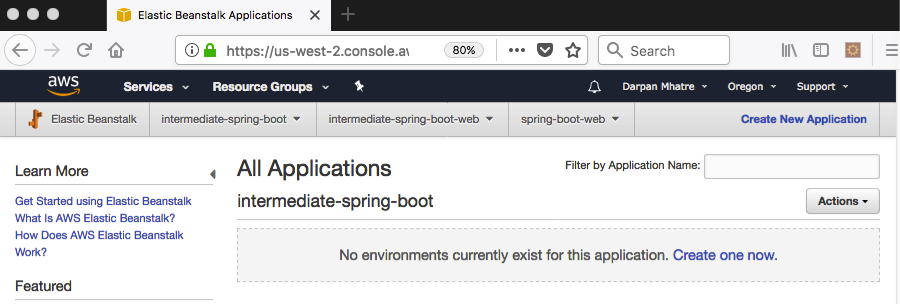
- Sign in to Amazon Web Services console and under services click Elastic Beanstalk
- Click on Create New Application on top right corner
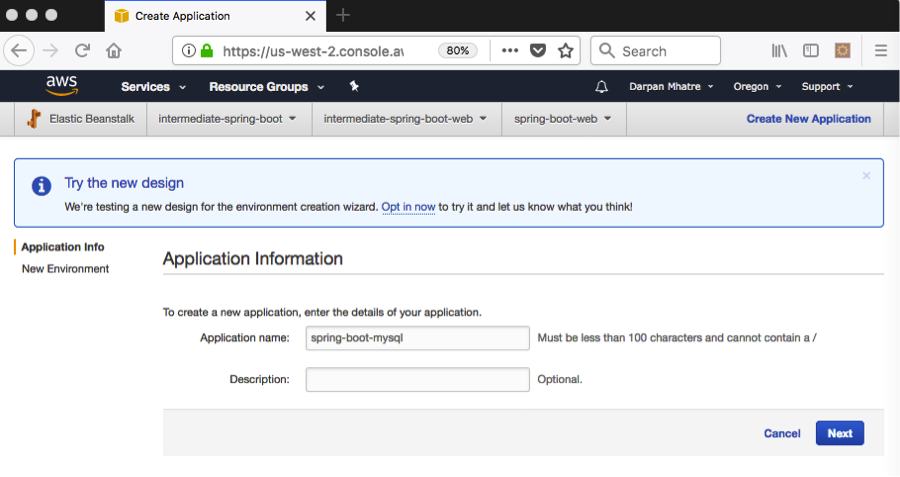
- Enter the application name example spring-boot-mysql and click Next
- Now click on Create Web Server
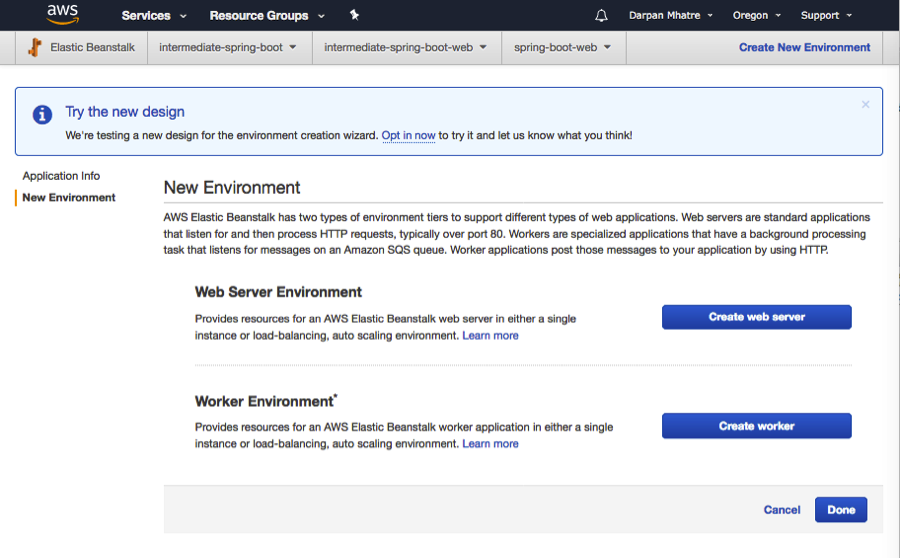
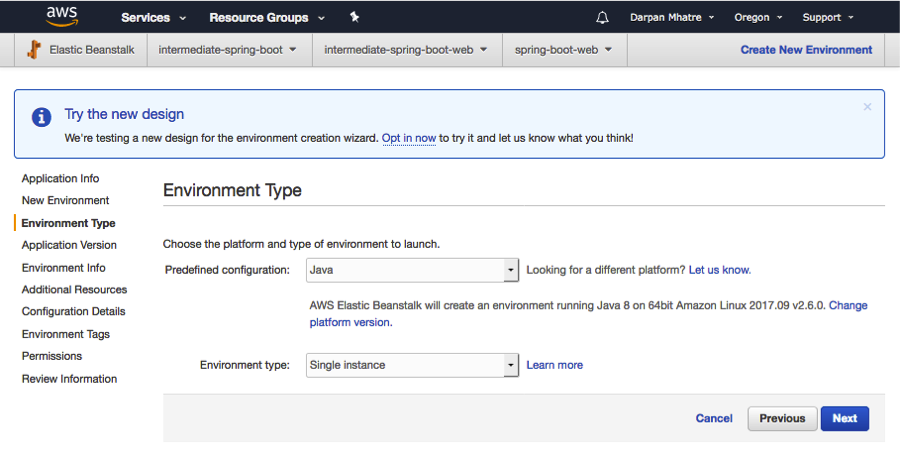
- Then under Environment Type select Java as Predefined configuration as we are going to run application.jar as a java application (we can also create war file instead and deploy it by selecting tomcat instead, but this is out of scope of this tutorial)
- Select Single instance for this tutorial or Dev environment
- You can select load balancing and auto scale for production environment
- Click Next
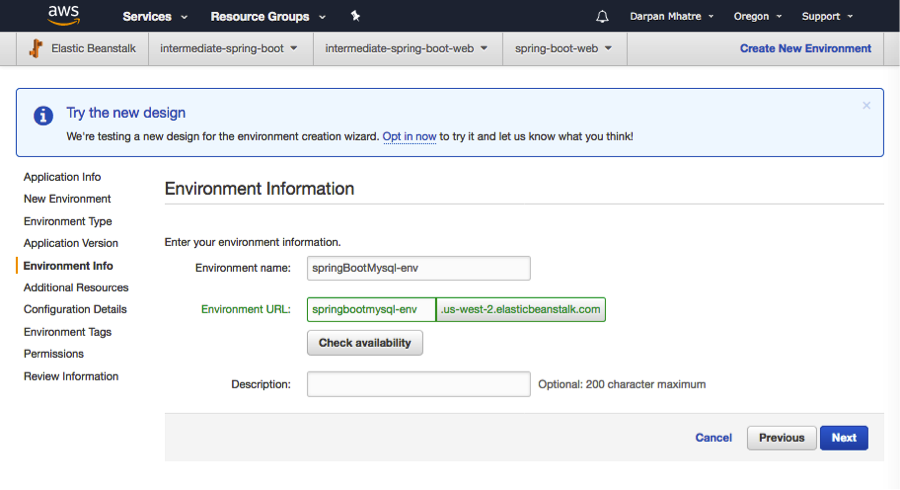
- Under application version select upload your own and browse and select the application.jar from your local computer that we just created under Target directory and then click next. It will take a while to come up
- Once it comes up click on check availability to see if the environment URL is not taken already
- Click Next
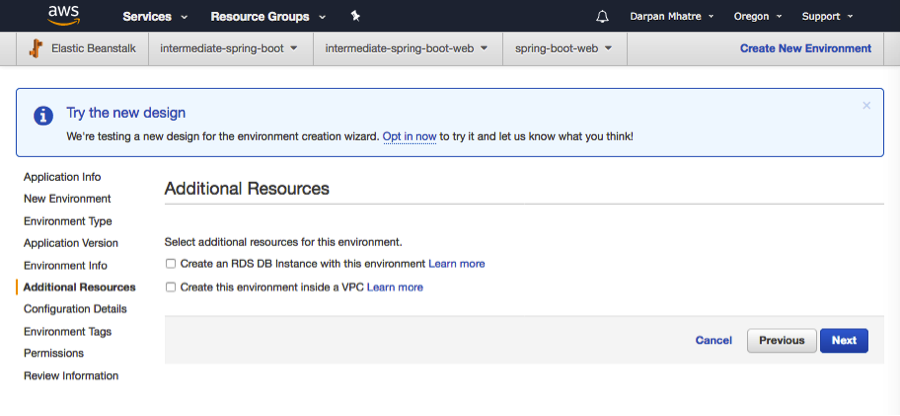
For this tutorial I already had mysql instance running on Amazon Web Services RDS, which I am using so I wont be creating an RDS in this wizard
- Click Next
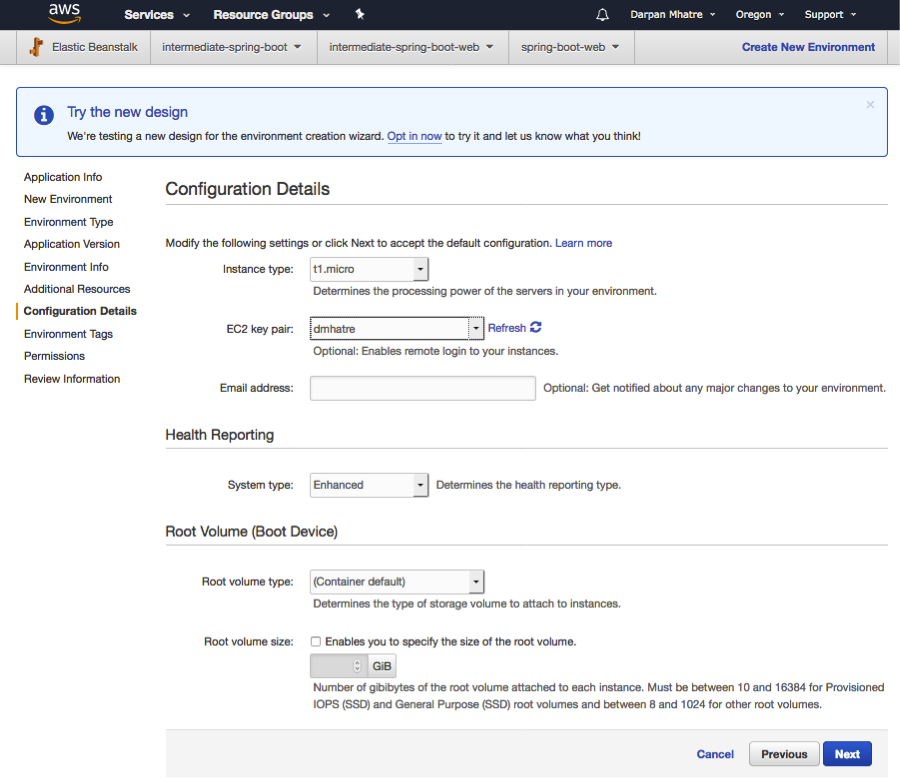
- Under Configuration Details select Instance type t1.micro for this tutorial. And EC2 key pair that I had already created
- Click Next
- Environment Tags keep it empty for this tutorial
- Click Next
- Default selections under Permissions
- Click Next
- Review
- Click Launch
It should come up with Health OK

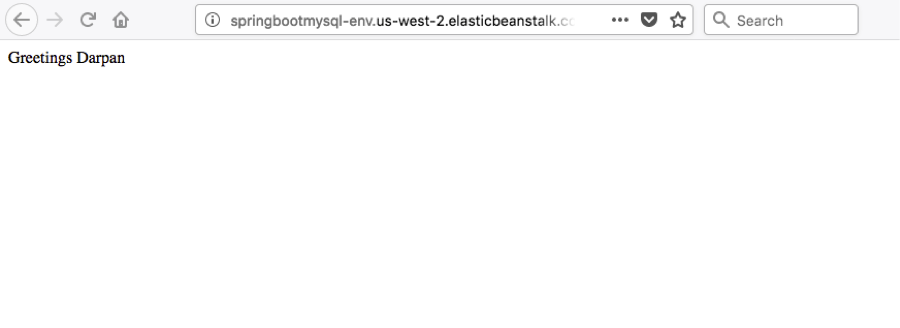
- Now Click on the URL on Top right corner of this page and then followed by /hello
- http://springbootmysql-env.us-west-2.elasticbeanstalk.com/hello
And you should see the message. Voila!